Here are 18 fun things to do with yarn. These yarn activities and games are sure to keep the kids busy and having fun for hours. Until you try these activities you might not fully appreciate how fun yarn can be! So grab some yarn and lets begin!
Yarn Crafts for Kids – ART & CRAFT IDEAS
1. STRING PAINTING
- Dip various types and lengths of string and yarn into paint and then drag them across a piece of paper.
- Compare the effect created when you drag the string across wet paper
- Dab paint on another piece of paper, fold and pull a piece of string through the paint.
2. Worm Art
Dip pieces of yarn into paint and drag it across paper to make squiggles, lines, etc.
3. BERRY BASKET WEAVING
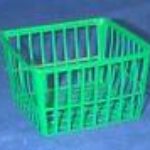
For each child, tie a long piece of yarn to a plastic berry basket. Have children weave the yarn in and out of the basket holes. If desired, they can also weave in item such as ribbon pieces, pipe cleaners or twine.
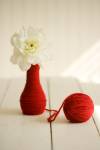
4. YARN VASE
Materials:
| A glass bottle | Craft glue |
| Yarn | A toothpick |
- Cover about 1″ of the bottom of the bottle with glue.
- Wind the yarn around the bottle, tight but not too tight. You can use different colors of yarn to make stripes on your vase.
- When the glued area is completely covered, push the rows of yarn closer together. Tuck in the beginning of the yarn with a toothpick, add a little more glue there and press down for a minute.
- Keep repeating steps 1, 2, and 3 until the whole bottle is covered with yarn. Glue will dry clear.
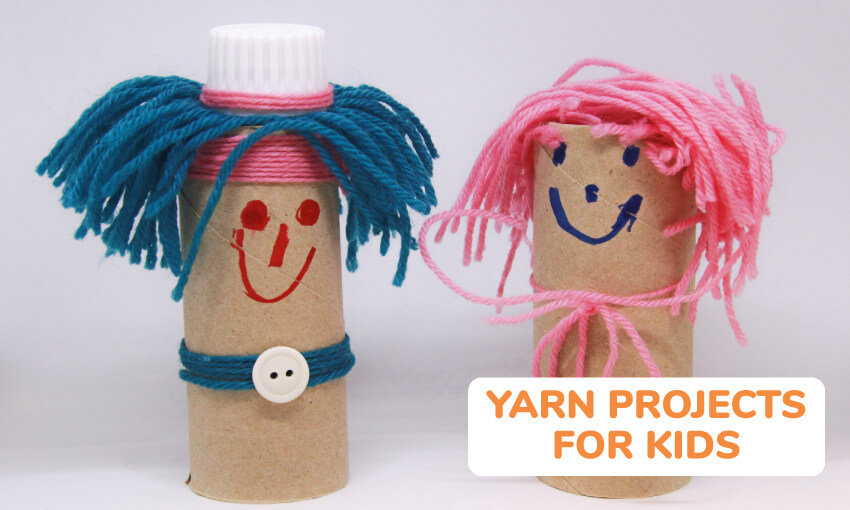
5. MAKE NAPKIN RINGS USING TP CARDBOARD AND YARN

These are not just for Holidays but nice any time of the year in any color!
All that is needed is yarn, Cardboard toilet paper tubes, and a bit of strong glue.
- Cut about 1 1/2 inches of cardboard circles off of the TP tubes. ( Or to the width you would like your finished rings to be.)
2. Tie a knot before beginning to wrap and glue this to the inside of the tube.
3. Wrap the tube -through the hole-around and around until it is completely covered with the yarn.
4. Make another knot and glue it in the tube to ensure that the yarn does not unravel.
Optional: Tie a piece of thin ribbon around the tube to complete the look.
6. YARN BOWL
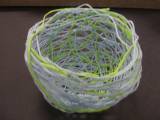
1. Blow up a balloon to the size of your choice. Place the ballon on a bowl.
2. Cut strands of yarn 12 and more inches long.(The heavier the yarn the better)
3. Soak the yarn in a bowl of white glue. When thoroughly drenched, lift the yarn from bowl and squeeze the excess glue between finger and thumb.
4. Place the yarn and cover only half of the balloon layering and overlapping the pieces (whichever direction you choose.)
5. Continue doing this until an entire half of the balloon is covered in yarn. Leave the upper half of the balloon bare.
6. The yarn will take 24 to 48 hours to dry. When completely dry–break the balloon. You now have a wonderful lacy bowl to hold ribbons, scarves or whatever!
Tips: This bowl can also be made using liquid starch instead of glue; however, I have not made one using starch. Instead of a balloon, a bowl or ball may also be used as the form. However, the balloon is the easiest to remove the bowl, once it has dried.
7. BALLOON AND YARN BALLS
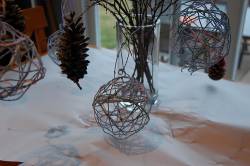
( The sample is used as a ‘Snowball’ but are fun to make any time of the year and hang from the ceiling or outdoors. )
Blow up a balloon to a size of a softball; cut about a 2 to 3 foot of white yarn and put it in bowl of Elmer’s glue. Take out the yarn and begin wrapping it around balloon.
When done wrapping – sprinkle it with white or silver glitter. Hang the balloon to dry for 24 hrs or until the glue is dry then pop the balloon! You have this pretty snowball to hang from your ceiling or on branches.Sample photos courtesy of More mom time
8. USE YARN TO STRING
Colored pasta, Cheerio cereal, candy or anything with a hole in the center! Makes a nice craft and snack in one!
9. YARN SHAPED LEAVES
(The leaves can also be made into people during warm weather or Autumn)
Materials:
| Leaves | Thin cardboard |
| Pencil or pen | Scissors |
| Tacky glue | Colorful yarn |
| Adhesive magnet strips |
- Trace some leaves onto thin cardboard and cut them out.
- Coat one side of the cardboard with tacky glue and let the glue dry after covering the shape with yarn.
- Attach a strip of adhesive magnet to the back.
- You can also us colored foam (green, red, yellow, orange), that is peel-and-stick. Peel the backing off and “paint” the yarn right to the foam, much easier and neater than glue.
- Cut out the leaf shapes and paste them to background paper.
- You can add heads, arms, and legs. Suggest that children have the leaf people engaged in some activity.
10. FABRIC CAT AND YARN
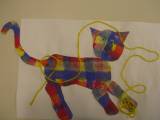
How about something like this fabric shaped cat and adding the playful yarn?
- BOOKMARK TRIM You can always add ribbon or yarn to BOOKMARKS! Visit the BOOK MARK MAKING PAGE.
11. FISH WEAVE ON DIPLAY WALL
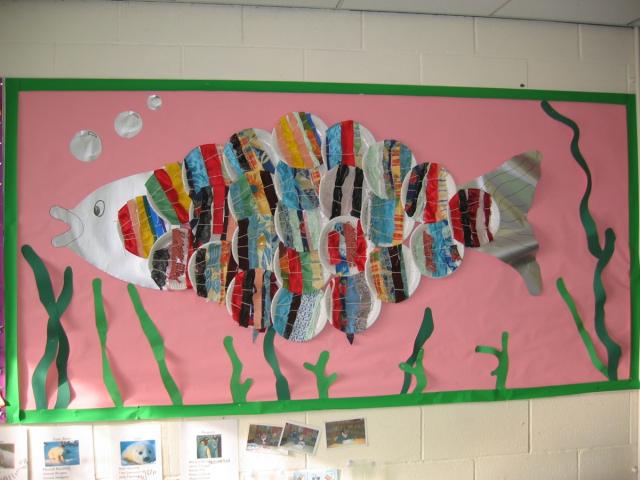
Have children weave strips of fabric, ribbon or yarn on paper plates. Joing the plates together to make the scales of a fish!
12. MAKE AN EMBROIDERY HOOP WIND CHIME

Need: Embroidery hoop,
( As hoops have two pieces – one hoop will make 2 wind chimes ) String or yarn, materials that makes noise ( beads, spoons, bells, blocks or tin cans )
1. Attach 3 strings to an embroidery hoop; tie the strings together at the top of the hoop – leaving enough string to form a loop to hang it.
2. Attach 3-8 strings to hang down for the chime.
3. Add anything that makes noise.
4. Decorate the embroidery hoop anyway you wish or leave as is.
YARN Activities
13. SNAKES AND WORMS
( You can call this game anything you want. An idea is to use brown and green yarn and call it snakes and worms )
1. Cut two colors of yarn, each about 20 feet long. ( If you have a large group playing at the same time – you may need 3 colors of yarn and cut the pieces longer )
2. Next cut the long length into many pieces.
3. Hide the pieces of yarn outside.
4. When time to play, carefully explain rules and regulations to children.
Form two teams with one or two kids on each side as captains.
They will tie each yarn piece that is brought to them, to the next yarn piece.
The team with the longest finished yarn ( Worm or Snake ) wins!
YARN BASED SCIENCE PROJECT
14. CATCH AN ICE CUBE
Need:
- Ice cubes
- Cup of water
- String
- Salt
- Float an ice cube in the cup of water.
- Carefully lay one end of a piece of string on the floating cube.
- Sprinkle a pinch of salt onto the string and wait for about 30 seconds.
- Pick up the string, and WOW, you caught an ice cube
- But what else can you use besides salt? Try sugar, pepper, sand, flour, you name it. See what works, and what doesn’t, and try to figure out why
How’s it work?
Salt that dissolves on the ice cube lowers its freezing point, which means that it actually melts faster than normal in the cup. After some of the salt washes away, a little bit of the water on the cube re-freezes, trapping the string with it. Substances that dissolve in water can lower the freezing point of ice, while things that don’t dissolve can’t.
15. RINGING EARS
Materials:
- Fork
- Spoon
- 3 feet of String/Thread
Steps:
- Take the string and tie the fork to the centre of the string/thread
- Take one end of the string/thread and tie it around your right index finger ( pointer ), then tie the other end of the string/thread around your left index ( pointer ) finger.
- Place your fingers (index/pointer) to your ears and let the fork dangle in front of you.
- Get someone to tap the fork with the spoon. You should hear loud ringing in your ears.
The ringing sound travels up the string/thread to your ears.
You could tie other metal objects to the string/thread to see what sounds travel to your ears.
16. HELP BIRDS BUILD THEIR NESTS SUPPLYING STRING AND YARN!
#1 IDEA: Lend a helping hand to the birds in your area by supplying them with simple nesting materials. All you need to do is fill a MESH BAG bag ( like the kind onions are packaged in ) OR A BERRY BASKET.
Fill with dried grass, short lengths of yarn and string, stuffing from old furniture or feather pillow dryer lint, also hair from your brush. ( Have the yarns/threads poke out of the mesh or basket so birds can easily access materials )
- Hang the bag in a location that the birds can safely access; watch the birds collect–hunt to see if you can find one of “your” nests!
IDEA #2 PROVIDE NEST SUPPLY BOX FOR BIRDS
You need: A Milk carton, String, Scissors, Dryer lint, Pet and people hair, bits of yarn and string
- Have adults cut a flap ( about halfway down ) in both sides of the milk carton.
- Wash the inside of the milk carton and allow it dry.
- Fold the flaps of the milk carton down to create a perch for the birds to land on.
- To make the hanger: thread a long piece of string through the opening of the milk carton. Tie the two pieces of string together. Make sure you use strong knots or ask a grownup to help you.
- Fill the box with the items you have collected (dryer lint, pet and people hair, bits of string and yarn).
- Hang your nesting supply box outside in a tree and keep checking to see if it needs replenishing.
17. YARN DOLLS AND OCTOPUS
Check out the Yarn Doll Making Page
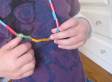
18. Yarn keychain
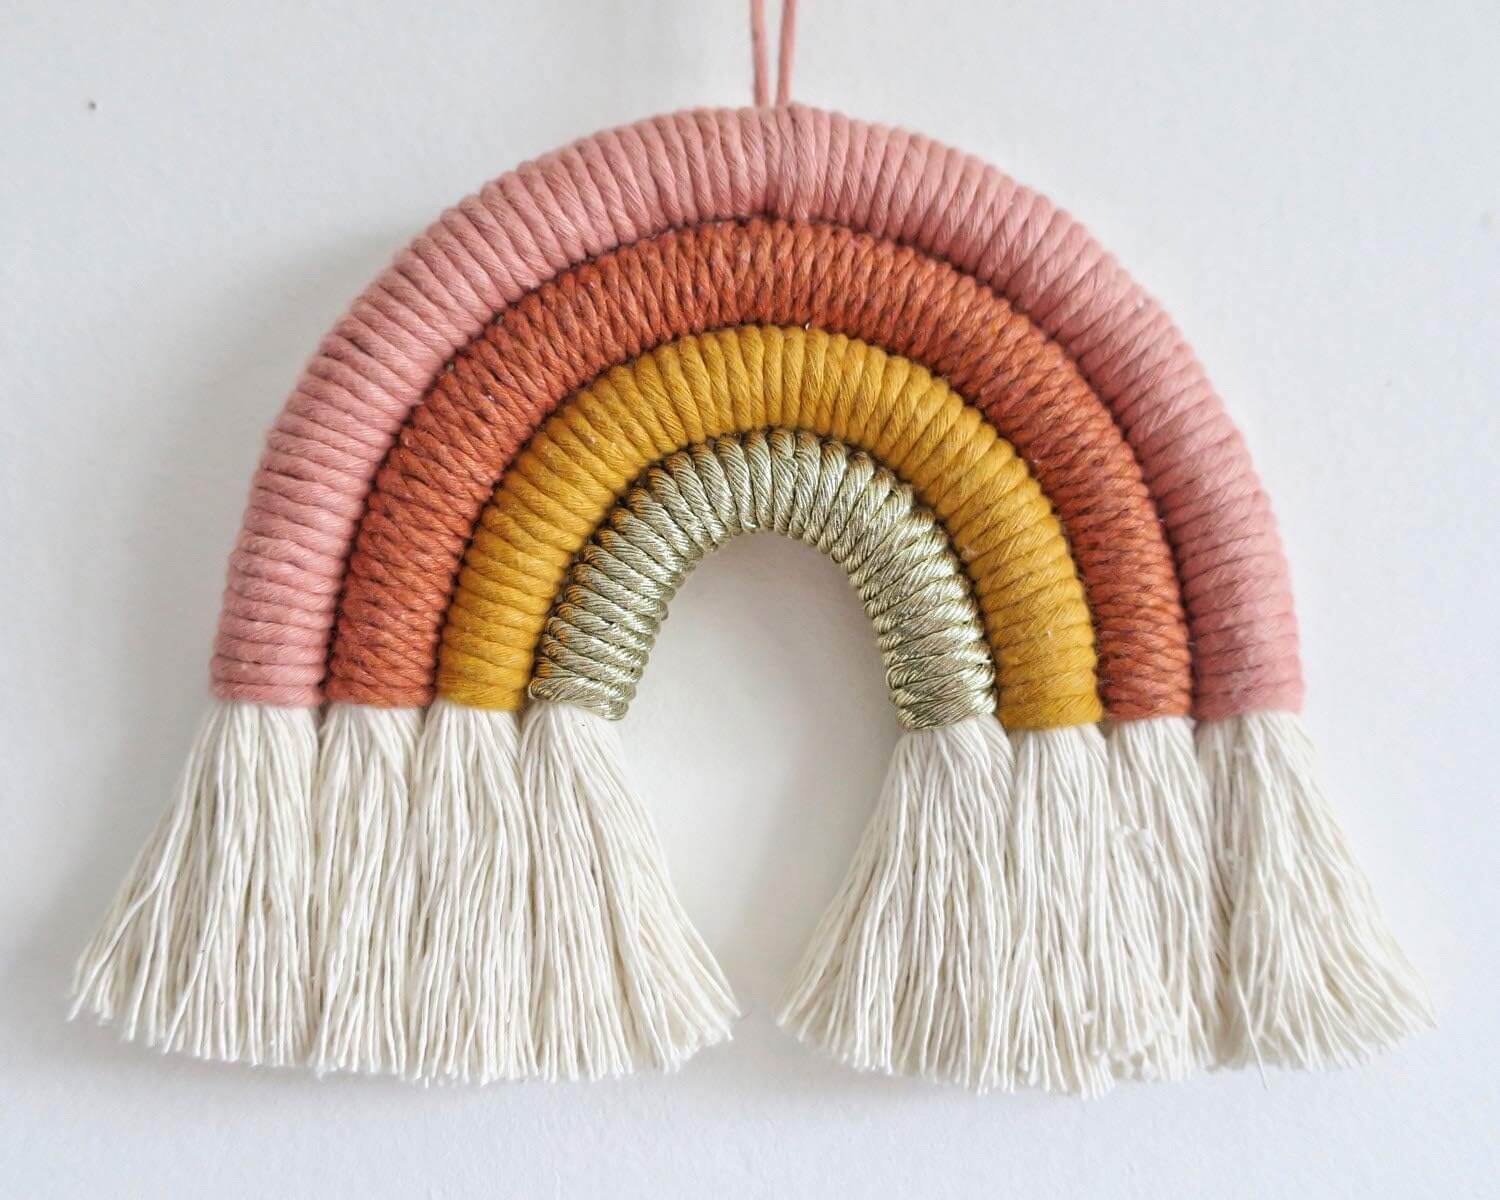
A cool and fun keychain to make on your own or with friends. The picture below makes it seem like it is bigger than it is, in fact, you can make it very small with some delicate hands.
Cool thing about this yarn activity is that it costs less than $1 and you can complete it in 30 minutes.
What you will need:
- Cotton rope
- Yarn in your favorite color or rainbow colors
- Masing tape
- Jumping ring
- Keychain
- Felt
The process is not very complicated, you basically just need to wrap the yarn around the jump rings to create small tubes. Then you can glue them together to create the rainbow effect
TIP – Don’t forget to place your keychain in the middle so it will be wrapped in yarn