These simple ocean-themed games are sure to lead to hours of laughter and fun. What kid doesn’t enjoy the beach? If you cannot take a trip to the beach, bring the beach to the kids. These under the sea theme ideas will make them feel like they are enjoying a summer day at the ocean.
Ocean theme games | Art and crafts
1. Ocean in a bottle
Materials:
- A clean, empty two-liter plastic bottle with a cap
- Clear vegetable oil
- Water
- A funnel
- Blue food coloring
- Shells and sea creatures (available from craft stores- be sure to use lightweight items that float)
- One teaspoon of glitter
- White craft glue and a hot glue gun (to be used only by staff or supervised by staff at all times).
Instructions
- Fill the bottle halfway with water.
- Add a few drops of blue food coloring and swirl around to mix.
- Add glitter and sea creatures/shells and then fill the bottle the rest of the way with vegetable oil using a funnel.
- Make sure that cap and rim are dry and then apply white glue around the rim and seal cap.
- Use a layer of hot glue around the outside edge of the cap for added protection from leakage.
- Turn the bottle on its side to create a wave in this ocean habitat.
2. Ocean treasure in a bottle
“Ocean Treasure” add coins and beads.
Tip: If you have trouble getting the entire label off – you may want to place a label over the ‘old label’ and write the “children’s’ names” and “Ocean in a Bottle”.
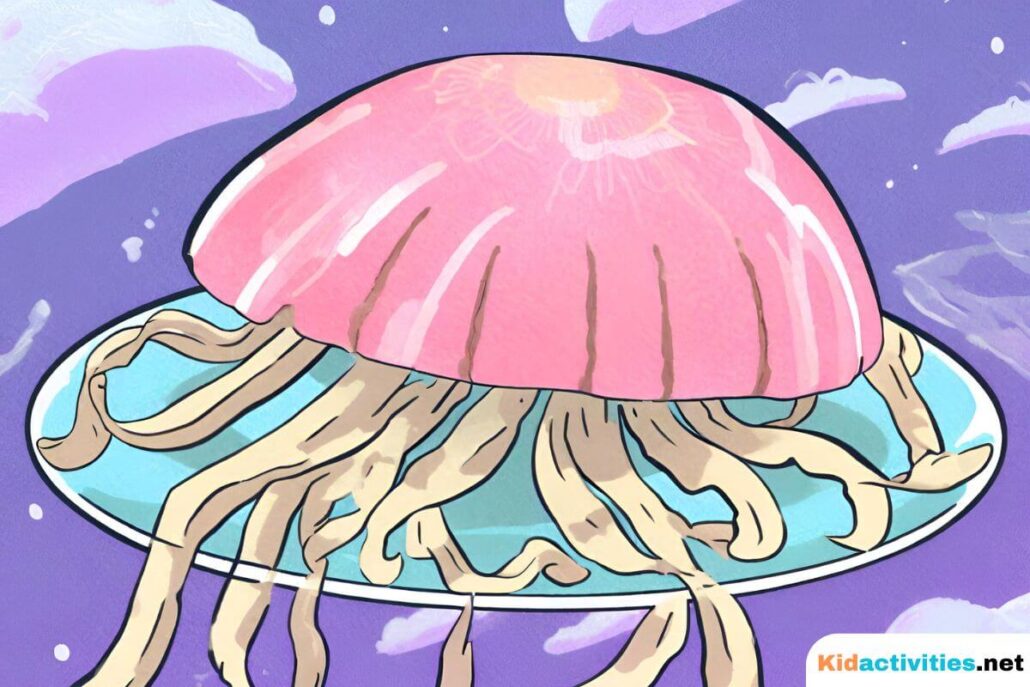
3. Paper plate jellyfish and fish
Either use colored paper plates or paint them. I painted (the plates in the image are painted) use the less expensive plates without the coated surface. The coated plates will take much longer to dry.
4. For the fish
Cut a ‘V-shaped” wedge from one side of the plate. This is the mouth. Glue the cut shape to the other side of the plate this is the tail.
Glue or draw on an eye and decorate as desired. Sequins or other embellishments can be applied as desired. Although it doesn’t show in the image the two fish pictured have glitter glue applied.
5. Jellyfish
Cut a paper plate in half. (This sample used small-sized plates for the jellyfish) Paint the paper halves. When dry glue crepe paper “tentacles’.
Note: If you will be hanging the fish and jellyfish use a hole punch and then thread yarn or string through the hole in the paper plate to hang.
6.’Paper pulp’ necklaces or ornaments
(Paper Pulp can be an alternative to clay.)
- Put a cup of shredded newspaper into a blender.
- Add 2 cups of water.
- Blend well. Very well.
- Strain the mixture so that it is mushy, but still very wet. (Adjust paper and water according to the amount you need.)
Put pulp into ‘ocean themed’ cookie cutters as molds. Use a straw to form a hole at the top. When completely dry, remove from form. Paint as desired and add string/yarn/cord/ribbon for necklaces (or ornaments).
7. Make an ocean seaside scene
Inside a small to medium glass vase Use beach sand, shells, small pieces of driftwood, the small discarded shell of a crab, etc., for a sea scene.
A few art and crafts ideas from the ‘summer theme’
8. Sand art
Instructions
- Give each child a piece of construction paper, and have them draw a picture or write words with the glue. Make sure that they do not put gobs of glue in any one spot.
- Before the glue dries, with the hand, pour/put sand onto the glue. Let it sit for a few minutes and then shake off the excess sand.
- It should dry flat for about half an hour depending on how much glue was used.
Tip: This can also be done with colored sand but for those on a budget regular sand works just as well.
9. Dry sand Paint
Materials:
- 1 cup sand
- 1 T. powdered paint
Instructions
- Mix and put into a shaker.
- Put glue design onto paper-Shake sand onto the glue
10. Make sand jars
Materials:
- Baby food jars or other jars
- Colored sand or sand
- Tempera paint
Instructions
- If not using purchased colored sand, combine the sand with the dry tempera paint. Make a variety of colors. Salt also works for white.
- Layer the different colors of sand into the jar. (Using small funnels to put the sand into the jars keep areas neat.)
- You can also use a straw or kabob stick to ‘poke’ through desired layers of sand to make designs
11. Froot loop sand layers

Materials:
- Box of Froot Loops Cereal
Instructions
- Have children sort the colors.
- Put the different colors into baggies and crush them till powdery.
- Put individual layers in a baby food jar, or clear plastic or glass bottles as you would colored sand.
Tip: This is good for younger children without the hazard of sand. Older kids may also like as a novelty.
12. “Fish weaving” display wall
Have children weave strips of fabric, ribbon, or yarn on paper plates. Join the plates together to make the scales of a fish on a pre-made fish shape.
Add strips of thinly cut roll paper or crepe paper to simulate seaweed. Cut out a few circles (bubbles) and space above the fish’s head.
One is very easy to do with slits cut opposite each other on the edge of the plate. The children then simply wrap the yarn or ribbon up and down the front and back of the plate. Do this until all slits have yarn on them. Tie the yarn/ribbon in a knot in the back of the plate.
The second way is a more traditional method of weaving paper. Fold the plate in half and cut a series of slits in the plate. Ribbon or yarn is then woven over and under (or in and out) the slits. The outer circle of this plate was painted before the weaving began.
When the plates were complete, spray adhesive was very lightly applied and glitter sprinkled over the plate. Most glitter adhered and very little came off.
Tip: After doing the two plates with yarn ribbon or slim strips of fabric would go more quickly.
13. Seashell wind chimes
Materials:
- 8 Seashells (available from the beach, or at craft supply stores)
- 1 plastic coffee-can lid
- Knitting yarn scraps
- Liquid white glue
- Sharp pencil or paper punch.
Instructions
- Glue each shell to the end of a short piece of yarn. Use liquid white glue.
- Let dry overnight.
- Punch eight holes equally spaced on the top of a plastic coffee-can lid. Use a sharp pencil or a paper punch.
- Hold the lid with the rim facing up. Push the eight pieces of yarn through the eight holes of the underside of the lid.
- Tie the end of each piece of yarn in a large knot. Make the knot bigger than the hole so the yarn will not slip through.
- Punch two more holes on opposite edges of the lid.
- Push one end of a large piece of yarn from the top of the lid through one hole. It should come out on the underside of the chime.
- Tie a large knot.
- Push the other end of the yarn through the other hole and knot it.
- Hang the chime on the branch of a tree or in your window.
14. Paper plate aquarium
Instructions
- Color an underwater scene on the “eating” side of a paper plate.
- Glue goldfish crackers or cut-out pictures from coloring pages to the scene.
- Add a couple of pieces of plastic plant or crepe paper for seaweed and using glue add a little sand or soft dirt to make the seafloor.
- Using a second paper plate, cut a circle in the middle. Cut a circle of blue plastic wrap 1 inch in diameter larger than your hole in the plate.
- On the “eating” side of this plate, glue the blue plastic wrap so that it covers and overlaps the hole on the plate.
- Glue or staple both plates together with the “eating” side toward the inside.
- Punch a hole in the top and string a piece of yarn through the hole to hang your aquarium from the ceiling.
15. Tube octopus
Instructions
- Paint toilet paper tube.
- When dry cut eight slits halfway up.
- Add googly eyes. An Octopus.
If desired punch hole in top and thread with string or yarn to hang.
16. Swimming fish (a craft & science in one)
Instructions
- Fill a large plastic soft drink bottle about one-quarter full with water.
- Add a few drops of blue food coloring and a very small drop of liquid detergent.
- Pour in a small amount of clean sand or aquarium gravel. Blow up two small balloons, release most of the air, then tie the ends closed. Push the balloons into the bottle and screw the cap on tightly. When you have finished, you will have a fish tank with two bobbing “fish” inside.
- The fish will swim in the water by holding the bottle sideways and rocking it back and forth. You may just discover that each child will want one of their own.
17. Make a lei.
A nice craft for “Beachy” Ocean Theme.
#1 lei idea
Layout pre-cut long pieces of string, twine, raffia, or fishing line, long-tube pasta, and plastic or fabric tropical flowers.
The kids can string together the flowers and pasta to make fun to wear a lei necklace.
#2 Idea: star-studded leis
Materials:
- Craft foam
- Sharpened pencil
- Elastic cording
- Red-and-white striped straws or drink stirrers
Instructions
- Cut out craft foam stars and use a sharpened pencil to poke a hole in the middle of each one.
- String them onto a length of elastic cording, alternating the stars with sections of straw or drink stirrer.
- Knot and wear.
Materials:
- White glue
- Shaving cream
- Paper
- Paintbrush
Instructions
- Measure equal parts of white glue and shaving cream.
- Mix the two ingredients together. It should be very thick and fluffy.
In warm weather, it’s perfect for fluffy white clouds and ‘white caps’ on big ocean waves. The texture is interesting. When dry-it feels much like foam and stays three dimensional.
18. A piece of beach
Materials:
- Sandbox Sand
- White Glue
- Small Shells
Instructions
- Mix sand and glue until the sand is syrupy.
- Pour the mixture into a bowl, plate, cup, etc.
- Push shells into the mixture to form a sculpture.
- Let this dry undisturbed; it may take a couple of days.
- When dry the glue converts the sand to a plaster.
Ocean themed activities
20.’Clamming’ for marbles
Materials:
- Wading pool
- Marbles
- Optional sand
Instructions
- Fill a wading pool with water and the dump marbles into it.
- The sand can also be added.
- The object is for team members to wade in a small pool and try to recover marbles (clams) with their toes and place them in their bucket.
Rather than winners with each group, see which group can recover the most marbles.
An alternative would be to float Frisbees on the water surface and have the kids place the marbles in the Frisbees.
21. ‘Beach time’ relay race
Materials:
- Beach bag filled with game item
- A lawn chair for each group.
Instructions
- Each team will “go to the beach” in relay fashion carrying the lawn chair and the beach bag.
- Each person.
1. Must set up the chair
2. Open the umbrella
3. Layout the towel
4. Put on the sunglasses
5. Sit
6. Open the magazine
7. Repack before returning for the next person to go.
This relay race is fun to watch.
22. Sharks and minnows
This tag game can be played in an open field or a gym.
One child starts out as the shark and all others are minnows. (If the group is large start out with two sharks)
Minnows stand in a straight line at one side of the field/gym facing the shark that is in the center of the play area.
The shark shouts, “Minnows swim to me.”
All the minnows run to the other side of the field. If they reach the other side they are safe.
If they are tagged they also become a “shark” or “seaweed”. The game continues with the leader shark saying, “Minnows swim to me” and the minnows try to get to the other side.
There are two versions to the game at this point.
#1. Method: Once tagged the minnows (who are now sharks) also help run and tag the remaining players. The lead shark is always the caller.
The last ‘safe minnow’ becomes the new leader shark.
#2. Method: Once tagged the minnows sit down and become seaweed. The seaweed reaches out as the minnow run/swim by and if tagged also sit and become seaweed.
The last untagged minnow is the new shark.
23.’Ocean’ sand-play items for outdoors
Take out the: bowls, buckets/pails, cars & trucks, colander, cookie cutters, funerals, ladles, magnifying glass, measuring cups, molds of different shapes, muffin tins, plastic sea animals, dishes, people, rolling pin, scale, scoops, shovels, sieve, sifters, spoons, strainer.
Stormy waters game
(Good for Pre-K to Grade 1)
Get enough cushions (or pillows or squares of paper) so there is one per person. Play some background music. Tell the children that they are in the ocean and to start “swimming” around to the music. When you stop the music shout out “There’s a storm coming – dash to an island!” Everyone must jump onto a cushion so no part of their body is touching the ocean (the floor).
Start the music again and the game resumes with a new variation.
Variation: Ask children to be fish swimming in the sea. When you stop the music tell them there is a big shark coming to eat them.
- You can try other ideas such as: Crocodiles, Pirates or Jellyfish coming to get them.
The children would then be:
Dolphins, Boats, Crabs, Mermaids, mermen, etc. They could also be surfing!
24. The ocean is calm
(A listening game-appropriate for Pre-K to Grade 1)
- Children sit scattered about the play area on geometric shapes.
- Without telling the others, each child is assigned a creature that lives in the ocean on the back of their mat.
- One player is chosen as the fisherman.
- The teacher/caregiver calls out, “The ocean is calm”.
- Moving about the play space, the fisherman calls out names of various fish or sea creatures such as:
Shark, eels, starfish, stingray, clams, squid, etc. - When a player hears the name of the creature they have been given they get up and walk behind the fisherman.
- When most of the players have been called out, the facilitator calls out, ” The ocean is stormy”.
- At this, all the children already caught must find new seats.
- The child without a seat becomes the next fisherman.
25. Have a beach party
In cold weather climates we often have “A Beach Party” Theme in January/February to boost our spirits but don’t forget about the theme during sunny weather and and have it outside! (Great for a ‘Good-Bye to Summer’ Theme.)
Play beach music and beach-ball volleyball; put umbrellas in the drinks, limbo dance, make ice-cream and leis. Check out the Outdoor Water Games Here…
26. Jump the waves!
Materials:
- Two long ropes (The waves)
Instructions
- Divide the children into two teams, on at each end of the play area.
- On your signal, the two teams run and try to jump the ropes.
- Keep on widening the ropes each time.
- If the students fall into the ocean, they must dry their feet back on the beach (lie on their back and shake their legs)
- They then get up and continue the jumps!
27. Beach basketball
A great classroom, party, or afterschool program idea.
Place a basketball hoop in a small child’s swimming pool. Talk about swimming pool fun
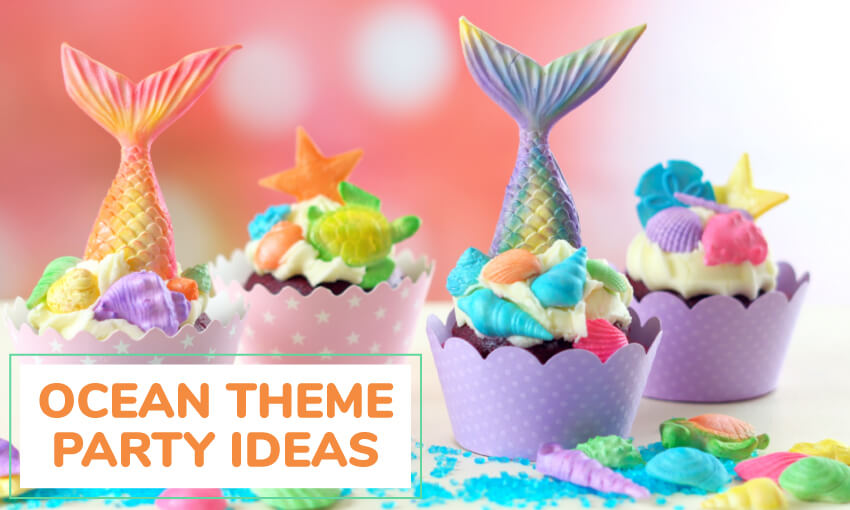
Ocean Theme Party Ideas
•Bean bag sea animals
•Vinyl sea creatures
•Sun Glasses
•Sun Visors
•Flip flops
•Swedish Fish Candy or Gummy Fish
•Life Saver Candy
•Fish shaped suckers and candy rings
•Fish squirters
•Bubble necklaces
•Ocean Stamps/Stickers
•Sticker books
•Sticky sea creatures
•Water toys
•Sand/Beach toys (Sand pail, etc.)
•Small containers/tubes sunblock/lotion
•Mini plush fish
•Small toy animals that grow in water