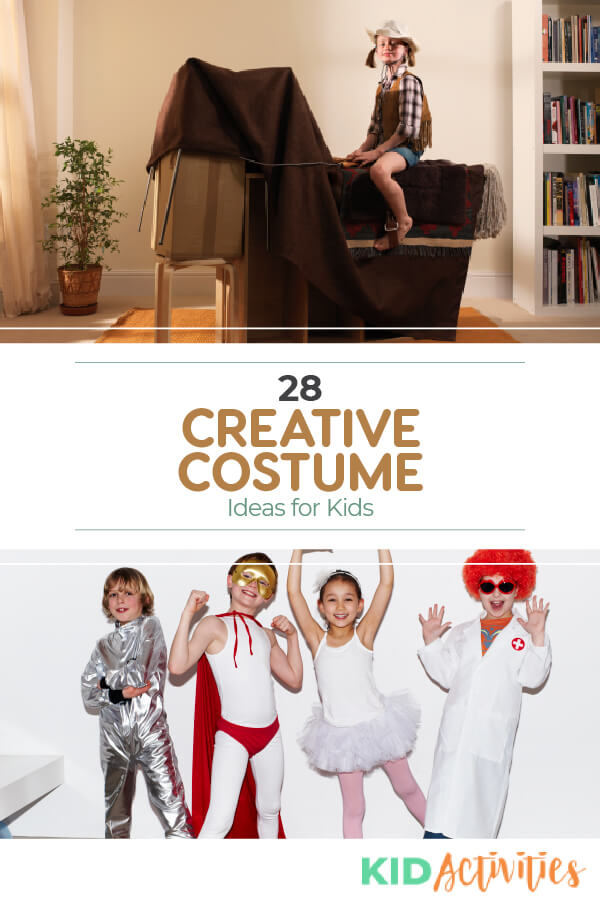
Whether you are looking for some costume ideas for kids going out for Halloween or for kids in a play, you will find them here.
Below we have compiled a list of 28 homemade costume ideas including some cute costumes as well as some scary ones.
On the second half of the page, you will find some makeup ideas for the costumes. Clown, face paint, fake blood recipes, and more.
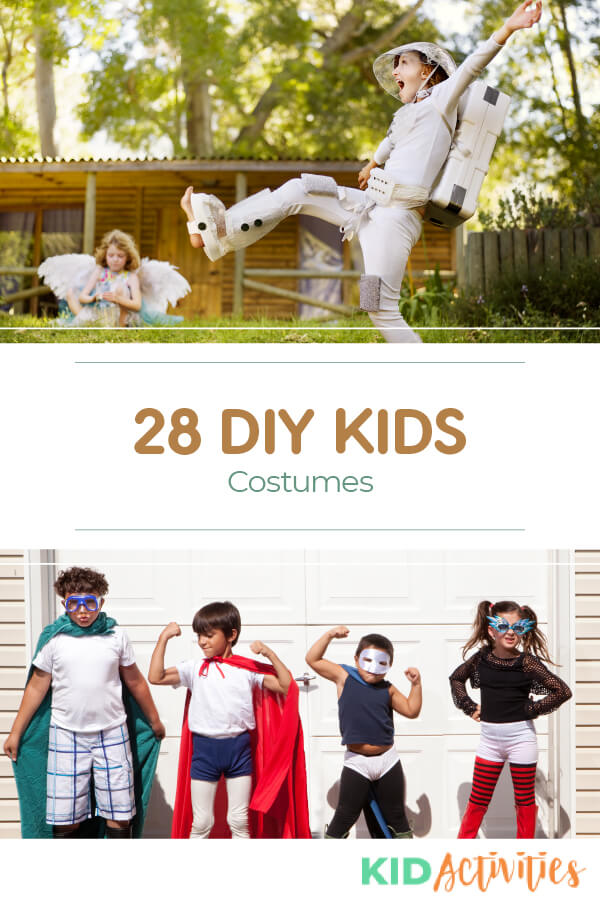
DIY Costume Ideas for Kids
1. Pillowcase Costumes
Collect unused pillowcases! They can make great costumes, such as a superhero, ghost, domino, playing card, Greek goddess, warrior, and more. Glue on felt pieces for the pattern.
2. Artist Costume
Materials:
- Big white shirt
- A beret
- Black tights or leggings
- Paintbrushes
- Several colors of paint on an artist’s tray
Instructions
- Paint different blotches of paint on the white shirt.
- Cut a circle from the felt a little bigger than your head.
- Sew a running stitch around the outside of the felt and pull in just a little to make it puff up.
- It just sits on the head with bobby pins.
- Put paintbrushes in the pocket and carry the artist’s tray with you.
3. Butterfly Costume
Materials:
- Sturdy cardboard
- Utility knife
- Colored netting
- Batting
- Brightly colored paints
- Satin ribbon
- Leotard & tights
- One & half yards of the same colored fabric
- Same colored socks
- Shoes
- A plain, simple mask
- Silk flowers
- Pipe cleaners
- Pom-poms
- Glue
- Stapler
Instructions
- Cut out two sets of wings from the cardboard.
- Using a utility knife cut out designs from the inside of the wings.
- Paint one side of each wing and fold them in half like a real butterfly.
- Next, lay the netting between the set and glue in place. Punch four holes through the cardboard to run the ribbon through to give the effect of a backpack.
- To make a mask–Separate the petals of the flowers and glue them neatly around the mask from the inside out, carefully making sure that the eyes are not covered; Remove the elastic cord and staple a piece of ribbon (long enough to tie around the head and dangle down) to each side. Double the pipe cleaners and attach to the back of the mask; glue the pompoms to the ends.
- Have the child put on the leotard, tights, and shoes, covering the shoes with the socks.
- Use combinations of reds, oranges, yellows, greens, blues, purples, and pinks. This could also be used as a fairy with silver and white!
4. Cat
Materials:
- Black leggings or pants
- Black shirt
- Wire hanger
- Black sock
- Black headband
- Cardboard
- Black mittens
Instructions
- Cover a stretched-out wire hanger with a black sock– or stuff a black sock with material for the tail.
- Use a black headband with ears attached that are made of cardboard and painted black.
- Add black mittens or gloves for paws–and black socks and shoes.
- This idea can be used for any animal by switching colors and the type of ears and tail.
5. Dog Costume
Follow the instructions above and differentiate with the below.
Add spots to construction paper and adhere the spots with tape or washable glue. Use a barrette to attach long felt ears to the sides of the child’s head.
6. Clown
Oversized clothes make a clown costume. Add hat, wide tie and face paint.
7. Cowboy
Shirts, jackets, and jeans for a cowboy costume. Add a hat, scarf, and boots.
8. Crayon Costume
Materials:
- Posterboard
- Stapler
- Scissors
- Black construction
- Elastic
- Construction paper that is the same color as the poster board
Instructions
- Take the colored poster board (your choice) and cut it to fit between the child’s underarms and knees.
- Wrap the board around the child—making sure to leave room to wear sweats under the colored poster board.
- Cut an oval out from the construction paper of your desired crayon color; Glue it to the center of the poster board over the stomach area.
- Cut out the letters CRAYOLA from black construction paper and glue them to construction paper centered on the stomach.
- Use the leftover poster board to construct a cone-shaped hat. You should use a 2″ strip at the base of the hat to form a crayon design. Make sure the top of the hat has a flat base.
- Attach elastic to the shoulder area and staple it to the poster board.
- DO NOT make it too long- as it will constrict walking ability. You may have to cut out arm indentations for an easier fit. Use the same colored clothing underneath to create the illusion of all one color.
9. Dinosaur Costume
Materials:
- Rectangular cardboard box
- X-acto knife
- Masking tape
- Green spray paint
- White, black, yellow paint
- Green sweats
- Green tights
- Styrofoam ball (2-3″ diameter)
- Stuffing material
- Green felt (optional)
- Velcro points (optional)
- Red felt (optional).
Instructions
- The cardboard box should fit over the child’s head and shoulders to form a Dino head/snout.
- One designer has done it 2 years in 2 different ways — one year she cut out “shoulder rests” for the box to fit on the child’s shoulders.
- The next year the box was too long and too wide, so she cut armholes in the box. It takes some measuring and adjusting by putting the box on the child).
- Next …basically figure out how to turn a rectangular box into a Dinosaur head by cutting away pieces, folding, and taping.
- Leave a “window” for the child to see out of between the top of the elongated “snout” part of the head and the top of the head (This gives the head a 2-level look and avoids the problem of lining up eyes with).
- Spray paint the “head” green.
- Cut a Styrofoam ball in half and paint it yellow; paint a black pupil in the center of each, and glue on the sides of the head for eyes.
- Have the child paint red spots on the head.
- Cut one leg off the green tights and stuff with poly-fill to form the tail. Close it with a rubber band; pin it to elastic on the back of the child’s sweatpants.
- If desired, cut paired triangles of felt. Glue them together and attach it to the tail and back of the child with Velcro. If desired, cut circles from red felt for spots and attach them to the child’s outfit with Velcro.
- It can also be used as a crocodile with a few modifications. For a crocodile costume put the eyes sticking up from the top of the head instead of on the sides.
10. Fairy Costume
Materials:
- Material
- Thread
- Sewing needle
- Mesh or lace material for wings
- Metal or wire in a “C” shape for wings
Instructions
- You can use a dress with a flared skirt for the base.
- Next, cut the mesh or lace material into the shape of the wire with just a little room to overlap it.
- Sew the lace or mesh over the wire and it’s complete.
11. Firefighter in a Fire Engine Costume
Instructions
- Paint a box bright red with ladders on the sides.
- Use aluminum pie plates for reflectors.
- A plastic firefighter’s hat is a good addition.
- Children will be more than happy to come up with the siren sound!
12. Flower Mask
Children enjoy discovering all the flowers that bloom in the summer. The colors are bright and inviting.
To make an inexpensive and colorful blossom mask follow the below.
Instructions
- Cut out the center of a paper plate, leaving a hole large enough for the child’s face.
- Paint the plate and then cut flower petals from colorful construction or tissue paper.
- Glue the petals around the rim to make a unique flower.
- Attach elastic thread to the back of the plate to finish the mask
13. Genie
Materials:
- Bathing suit top and bottom
- A pair of pajama bottoms with a hem you can put a string through to tighten around ankles
- Matching midriff vest
- To make a hat, cut a hole in the middle of a small plastic container for a ponytail.
- Cover it with fabric and fasten a scarf to each side of the hat so that it hangs loosely in front of your mouth. (Picture the old “I Dream of Jeanie” episodes for this.
14. Ghost
A white sheet creates a perfect ghost costume. For an added touch buy an old hat to place on the ghost’s head.
15. Gypsy
Flowing dresses and bright shoes make a gypsy costume. Add lots of jewelry such as bracelets, necklaces, beads, earrings, and scarves.
16. Hippie
Wear a peasant dress, flowing light material skirt, or bell-bottom pants. The top can be a tie-dye shirt or flimsy top-with love beads, long hair parted down the middle (may need a wig), a peace sign button and -tinted glasses. Using makeup, paint a peace sign, flower or heart on the child’s face.
17. Hot Dog Costume
Materials:
- An old thick blanket like a comforter
- Large pieces of brown and tan felt
- Small pieces of red and yellow felt for ketchup and mustard
- Cotton pillow filling
- Brown pants
- Face paint.
Instructions
- First, you cut the comforter so that it fits around the child and ties in the back.
- Cut a hole in the front for the child’s head and arms. Then cut the brown felt in the same shape as the comforter.
- Sew the felt onto the comforter.
- Cut the red and yellow felt (in the shape of ketchup and mustard) and glue it on the front of the hot dog. Then get the tan felt and measure it like a jacket.
- Cut armholes in the sides. It should look like a bun.
- In order- put on brown pants, then the hot dog, then the bun and finish with the face paint. You have a hot dog!
18. Jack In the Box Costume
Materials:
- A big box with bottom and top cut out
- A clown looking shirt
- Clown Makeup
- Aluminum foil
- Paint
Instructions
- Take a box-making sure child can fit into it. Paint the box with decorations such as numbers and letters.
- Sew, glue, or tape a shirt onto the inside of your box; a hat could be made to match the shirt.
- Make a crank with the aluminum foil; tape the crank onto the side of the box.
- Make up the child’s face with clown paint. Have “Jack” bend down in the box and POP Back up.
19. Mail Carrier
This is especially good for Preschool to Grade 1.
They enjoy playing dress up and many costumes can be made from items around the house.
Instructions
- To make a Mail Carrier’s costume- find or make a canvas bag with a short strap so it can be carried on the shoulder.
- Be sure to “equip” it with mail. Save old postcards, junk mail, little gift boxes, and a couple of magazines to put in the mailbag.
- Decorate an old shirt to be a uniform. For props, use shoe boxes that are decorated and used for mailboxes.
- Put names of program children on the “mail-boxes” so the mail-carrier can deliver the mail.
20. Martian
Materials:
- Rainbow wig
- Oversized glasses
- Face paint
- Headband
- Silver or gold pipe cleaners
- Foil
Instructions
- If possible have the child wear green slippers and a fluorescent green leotard and tights. If not possible find blue or purple, etc.
- Wrap the headband in foil and attach 2 or more pipe cleaners to the top for the antenna.
- Paint child’s face in a variety of psychedelic colors and outer space designs.
- If you’re a girl Martian, add a sheer fluorescent green ballet skirt. If you can’t find oversized glasses, make some from cardboard.
- Cover the cut-out cardboard with foil or decorate with fluorescent markers.
- Let your imagination go wild and add your own touches to this visitor from another planet.
21. Mummy
Instructions
- Tear some sheets and wrap them around the body (but never around the neck).
- For safety, paint the child’s face white instead of wrapping sheet strips.
- Paint black rings around eyes for empty eye sockets.
- Use a white swimming cap or stocking cap over the child’s hair and attach sheet strips to it.
- If you have sheet strips dangling from the body, make sure they are of a length that will not trip the child.
21. Nerd
High-water pants, white button-down shirt, bow tie, white socks, black dress shoes, a pocket protector, and dark frame glasses with masking tape around the nose piece are all you need for this classic costume.
22. Old Woman
Materials:
- Use a past-the-knee dress
- Wig
- Handbag
- Umbrella
- Nude-colored knee-highs that don’t stay up
- Old shoes
- Gray eyeliner
Instructions
- Use gray eyeliner to draw light lines from your eyes (crows feet) around your mouth (looks like no teeth).
- Add vertical lines around the cheekbones for additional wrinkles. Experiment until you reach the desired look.
- Blend this all lightly so the lines are just shadows in add a layer of white powder, two pink spots of blush and pink lipstick.
- For a chilly night, add a cardigan sweater buttoned at the top or a long fuzzy overcoat and flowered hat.
23. Princess
Prom or evening gowns make an excellent princess, queen, or your favorite movie star.
Add jewelry, gloves, high heels, purse, and shawls.
24. Purple People Eater Costume
Dress in purple sweats; jell child’s hair so it stands up in a “horn”; draw an “eye” in the middle of the child’s forehead with make-up.
Top it off with a necklace made of a plastic fork, knife, and spoon; tie these on a shoelace around and around the neck.
25. Robot
Use a small box for the head with a large space cut out for the face, and a larger box for the body, with head and arm holes cut out. Other materials: Paint, sparkly stick-on’s, aluminum pans with stickers for the control panel.
26. Scarecrow
Wear worn-in jeans or over-alls that have patched holes with an old bandanna; add a flannel shirt, a worn-in hat, and gardening gloves.
Stick some straw in various places to add to the effect. Use makeup to paint the face yellow and add short lines around the eyes to look like a sewn-on patch. Use green make-up to paint an upside-down triangle on the nose— again adding short lines around it to look like a sewn-on patch.
Use red for the mouth adding the short lines. Add small red circles of color to the cheeks.
27. Vampire
Wear black pants, white button-down shirt, black shoes, a cape (buy a vampire cape or dye a sheet black), plastic teeth, and slick hair back with some gel. Use white make-up for the face and highlight with a red blush on the cheeks and red lipstick on the lips.
Red lipstick applied carefully with a lip brush down the side of the mouth can look like blood dripping down.
28. Witch
Materials:
- Black dress or skirt and top
- Black tights
- Cape (dye a sheet black)
- Witch’s hat
- A broom
Instructions
- Make the face green and use a black eye pencil to make dark lines.
- Stick a piece of oatmeal-colored black to the make-up paint on the nose, chin and/or cheek to make a good wart.
- Pin a plush-toy black cat to the child’s shoulder or tie it to the broom.
DIY Costume Makeup Ideas
Face Paint
Materials:
- 1 tsp. cornstarch
- 1/2 tsp. water
- 1/2 tsp. cold cream
- Food coloring
Instructions
- Mix cornstarch and cold cream together until smooth.
- Mix in water and food coloring.
- Use a small brush to paint designs on the children’s faces.
- Store in an airtight container.
Face Paint Recipe #2
Materials:
- 1 Tbs. Crisco shortening
- 2 Tbs. cornstarch
- Food coloring
Instructions
- Mix all ingredients together until smooth.
- Use sponge or fingers to apply to face.
- Wash with soap and water.
Clown Paint
Materials:
- 1/8 c Baby Lotion
- 1/4 tsp powdered Tempera paint
- 1 squirt liquid soap
This is easily removed by soap and water.
Clown Costume Paint #2
Blend on a paper plate:
2 tbsp. shortening
5 tsps. cornstarch
1 tsp. flour
Dab of Vaseline
Add food coloring for various colors.
Wash Off with Soap and Water
Make a Hairy Wart
Materials:
- Whole peppercorns white or black
- Corn syrup or eyelash glue
- Hair bristles from a paintbrush or out of your hairbrush
- (Optional) Non-toxic watercolors (the kind you use in school)
Instructions:
- Glue peppercorns to your hands or face using the corn syrup or eyelash glue. KEEP PEPPERCORNS AWAY FROM YOUR EYES! You may have to hold them in place until the glue or syrup is dry.
- Dip one end of the hairs in the glue or syrup and attach to the peppercorn, so they look hairy.
- Use the paints to color them creepy!
Fake Blood Make-Up
Materials:
- Karo brand corn syrup
- Red and blue food coloring
- Milk
Instructions
- Add some red food coloring to the corn syrup, then just a drop or two of blue to get a more realistic dark color.
- Milk will make the blood appear more opaque and more realistic.
- Note: This mixture is sticky and can stain clothes.
Fake Blood #2
Materials:
- 2-1/2 Tablespoons water
- 60-70 drops of red food coloring
- 10-15 drops yellow food coloring
- 2-3 drops blue food coloring
- 5-1/2 Tablespoons white corn syrup
Instructions
- Mix all of the food colorings and water together.
- Slowly stir in the corn syrup until the mixture is thick, but still “slides” down your arm. This goop WILL STAIN your clothing!
- Smear it on your skin wherever you want the “blood” to be.
- Adult Supervision Required
In Summary
We hope you have enjoyed these creative costume ideas for kids. Did you end up using one of these costume ideas? Which one was it?