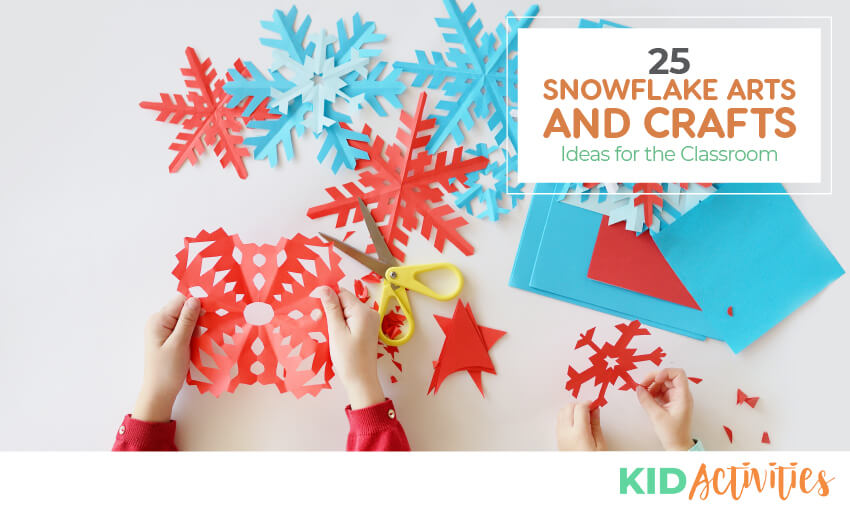
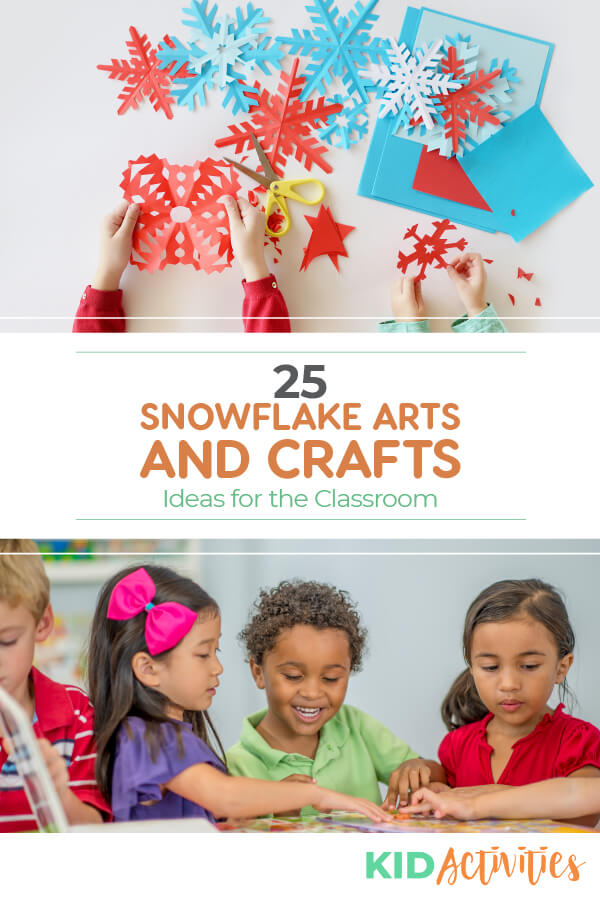
These snowflake craft ideas are a great way to get kids engaged with the season. Winter is here! If you aren’t outside playing in the snow, you should be inside making snowflakes!
When kids are making and designing their own unique snowflakes, they will be tapping into their creativity while having fun.
Once the craft projects are finished, use them to decorate the classroom. It will look like a winter wonderland.
Browse through these snowflake craft ideas and choose the ones that you think would work best for your kids based on their age.
Snowflake Arts and Crafts Ideas
1. Doily Art Snowflake Prints
Directions
- Place doilies on black or dark colored paper.
- Sponge paint over the doilies with white paper.
- When the doilies are removed your pictures will look like snowflakes!
2. Glittery Snowflakes
Directions
- Lightly tape a doily to a paper plate.
- Using a paintbrush, gently dab blue or white tempera paint over the doily.
- While the paint is still wet, remove the doily.
- Sprinkle glitter on the wet paint. Shake off the excess glitter and hang the snowflake plate when dry.
3. Snowflakes from Styrofoam Balls
Materials: ✓ Seven toothpicks ✓ 1-inch styrofoam balls ✓ 1/2 liquid starch ✓ 1 cup laundry powder ✓ Electric mixer ✓ Waxed paper ✓ 24-inch length of string ✓ Glitter
Directions
- Tie the string to one toothpick.
- Push the 6 other toothpicks into the ball in a starburst pattern.
- Beat the starch and laundry powder to make a stiff paste.
- Working on wax paper, dip the “snowflake” into the starch/soap mixture.
- Sprinkle it with glitter while it is still wet.
- Hang snowflakes from the ceiling by the string to dry and display!
4. Pretzel Snowflakes
Directions
- Take 4 mini pretzels for each snowflake.
- Pour white paint into a container/baggie/pie tin.
- Coat the pretzels with the paint and let them dry.
- When the pretzels are dry, form a snowflake by gluing the four pretzels to each other.
- Using a hot glue gun, glue corners to corners and points to points. If desired, dip the flakes in glitter or craft snow.
- When dry… tie on string, yarn or ribbon to hang.
5. Glue-Glitter Snowflakes
Directions
- Using white glue, draw a snowflake design on wax paper.
- Cover generously with glitter; let dry for one to two days.
- Pour off excess glitter.
- Gently peel the snowflake from wax paper; add a string and hang.
6. Q-Tip Snowflakes
Directions
- On wax paper – have children position Q-tips end to end.
- Take glue and put it where the Q-tips meet.
- When dry remove them from wax paper and suspend from the ceiling.
ANOTHER way to do this is to squeeze a puddle of glue into the middle of a sheet of wax paper. Give the children several Q-tips cut in half (or whole) and then position them around the glue blob. If using half a Q-tip be sure the swab end is sticking out so it looks like a snowflake.
Insert a loop of string in the glue puddle for a holder. Children can sprinkle glitter onto the glue. The snow-flakes will need a couple of days to dry; then peel them off the waxed paper! (This would also be a nice gift) Photo courtesy of Busy Bee Crafts
7. How to Make Paper Snowflakes
Everybody remembers making snowflakes out of paper.
Materials: ✓ Piece of white paper ✓ Scissors
Directions
- Start with a square sheet of white paper. Fold the paper in half diagonally, forming a triangle.
- Fold the paper in half diagonally again.
- Hold the paper so the triangle base is at the bottom. Fold the paper into thirds from the center point. The resulting shape should resemble a piece of pie.
- Using scissors, cut off excess at the bottom part of the pie shape to reveal a small triangle.
- Cut small shapes around the outside of the triangle, using designs of your choice.
- Unfold the paper to reveal your snowflake.
8. Coffee Filter Snowflakes
This is an easy snowflake craft to make! Fold the coffee filters (See above directions); cut out designs and then unfold. Easy! Hang about the room or in a window.
9. Dip and Dye Snowflakes
Materials: ✓ Cone or square-shaped coffee filters (or paper towels cut in circles or squares) ✓ Scissors ✓ Small bowls of dye (diluted food coloring or strong tempera paint)
(The Coffee filter snowflake sample is left of the snowman and the Paper towel snowflake is to the right of the snowman)
Directions
- Fold coffee filters or paper-towel circles or squares in half, quarters, thirds, and so on.
- Dip them into a bowl of dye, blot, open up, and let dry.
- When dry, fold again and make snowflakes by cutting small shapes along the folded edges.
NOTE: Having made these-I found that dropping on the color with an eye-dropper works well. The coffee filters dry very fast; the paper towel took longer to dry. When using either method, be sure the filter/paper is completely dry before folding and cutting. (Images by KidActivities.net)
10. Snowflakes from Paper Baking Cup Liners
Directions
- Flatten cupcake baking liners and fold them in fourths.
- Have children cut notches along the folds.
- Unfolded they’ll have snowflakes with different designs.
11. Life Saver Candy Snowflakes
- Glue together popsicle sticks in a snow-shape pattern.
- Glue on white minty lifesavers to the sticks.
- Add glitter to all and hang them from the ceiling.
12. Pasta Snowflakes
Materials: ✓ Wheel shaped pasta ✓ White paint ✓ White glitter ✓ Dry Tapioca pudding mix ✓ Paintbrushes ✓ Elmer’s glue
Directions:
- Take round wheel-shaped pasta and glue them together in a circle shape.
- When dry–paint the entire snowflake white.
- Before the paint dries sprinkle on glitter mixed with dry Tapioca pudding mix.
- To hang from the ceiling, insert a piece of string or yarn through one of the wheel holes after the snowflake is dry.
13. Tissue Paper and Juice Lid Snowflakes
Materials: ✓ Metal Juice lids ✓ White tissues paper torn in small pieces ✓ Glue
Directions
- Cover the flat side of the juice lid with glue.
- Tear or cut small pieces of paper and place it on top of the glue-top lid.
- Again-cover the paper with glue. Dry overnight.
- When dry, the “snowflake” will easily pop off the lid.
- Hang the snowflakes from ceiling or windows.
14. Sparkling Pipe Cleaner Snowflakes
Materials: ✓ Scissors ✓ Silver and/or blue tinsel pipe cleaners 2 per snowflake ✓ Blue, white, silver plastic pony beads
Directions
- Cut the two pipe cleaners in half.
- Make a cross and twist the two blue pipe cleaners in the center. Do the same with the silver.
- Twist the two crosses together in the center to make a ‘Snowflake’.
- Add a couple of beads to each stem. Bend the end of the stem if needed so that beads stay on.
NOTE: This sample was made using four full pipe cleaners…the same above directions were followed. I think it would be easier for the children to handle-cutting the pipe cleaners in half.
15. Snowflake Pictures
Directions
- Fold a circle of paper in half, then half again.
- Snip out shapes and open out.
- Clip the snowflake on top of another sheet of paper and fill in the shapes by patting with a paint-soaked sponge or rag.
- Allow to dry, and then remove the snowflake to reveal the pattern.
16. DIY Snow globe Version One
- Either supply the group with jars – or have children bring in an empty jar such as baby food, jelly, pickle, etc. Any small, clear jar with a screw-top lid will work.
- Cut a piece of felt or construction paper the size of the jar lid and glue it in place to the top of the jar lid. Fill the jars within 1/2 inch of jar top with a mixture of 1/3 light corn syrup and 2/3 warm water. Use popsicle sticks to stir until it’s mixed.
- Add about 1/2 tsp. (or more depending on the size of jar) of glitter -any color of child’s choice will do – also add a few snowflake-shaped sequins.
- After screwing the tops on tightly have an adult hot-glue the lids on the jars so there is no leaking.
Tips: Using a mixture of water with corn syrup “thickens” the liquid and keeps the glitter in suspension longer. Don’t use white glue to seal the lids. It’s water-soluble and will turn the water cloudy. You can also use a non-water-soluble glue such as rubber silicone to glue a figure or seasonal item to the inside of the lid.
17. DIY Snow globe Version Two
Materials: ✓ A jar with a secure lid ✓ Superglue ✓ Glitter ✓ Decorations for the inside of the snow globe ✓ Glycerin (optional)
- Jar selection is important; choose one that has a large enough base and is tall enough for the diorama you want to create; make sure that the glass is clear enough to see through.
- Assemble your diorama on the inside of the jar lid, and when you’re happy with how it’s going to look, use super glue to stick all your pieces down to the lid. Let this dry according to the instructions for the glue you’re using.
- Fill the jar almost to the top with water and add some glitter. If you’ve got some glycerin handy, add some, as it will make the glitter fall more slowly. Then carefully turn your lid upside down and immerse the diorama in the water. Make sure you fasten the lid securely and turn the whole thing upside down. Shake repeatedly!
- Good Idea! We decided to use a thin piece of lego as the base that we glued onto the inside of the jar lid; this means that when we get bored of watching a polar bear in a snowstorm, we can easily take him off the base and add some other pieces of lego to make a completely new scene for our snow globe. (Cassie/Mi. – Original Idea Source: Martha Stewart)
18. Icy Snowflakes to Hang Outdoors
Directions
- Cut a snowflake shape from paper.
- Fill a pie tin 1/2 full with water.
- Place snowflake shape in the water and place it in a freezer or outdoors.
- When the water is 3/4 frozen – place a piece of looped string on top of the forming ice. (Be sure it sticks and is in the middle of the tin with the loop hanging over)
- Over this, pour in more water until the pan is almost full.
- When frozen, hang the ‘icy-snowflake from tree branches. Ice easily pops from the pie tin.
Note: The ice image hanging from the tree in the back of the ‘snowflake’ sample is made the same way; however – berries, branches, etc. are placed in it instead of ‘paper snowflakes’. Food coloring or shaved crayon pieces can also be added to it. Image by KidActivities
19. Honeycomb Snowflakes
Directions
- Dip Honeycomb cereal in white tempera paint.
- Place the cereal on blue construction paper to dry.
20. Make Snowflake Mobiles
Materials: ✓ Lightweight paper for cutting in about 4″ x 4 squares ✓ Hole punch ✓ Scissors ✓ Hangers ✓ Yarn.
Directions
- Round the corners of the paper to create a circle. Fold the circle in half.
- Then in half again.
- Create designs with scissors and/or a hole punch.
- Paste several (about 3) snowflakes down one line of yarn…tie the yarn to the hanger. Do this 3 times.
- There should be three lines of snowflakes hanging from your mobile.
21. Stamp Snowflakes
Directions
- Dip the bottom of a strawberry basket into white paint.
- Have children stamp the basket bottoms onto blue paper.
- Sprinkle with glitter.
- Leave as-is or cut out the shapes to hang in the window or from the ceiling.
22. Potato Stamp and Print Snowflakes
Directions
- Cut a snowflake pattern into a 1/2 potato.
- Dip potato into white paint and stamp onto paper.
- Shake on silver glitter while the paint is still wet.
- Let dry.
23. Mixing Pop Art and Snowflakes
Directions
- Children started with snowflakes by cutting out geometric and irregular shapes.
- Using blue, white, and silver tempera, students sponge painted their snowflakes.
- After an introduction to the pop art time period, tie-dye backgrounds in a radial design with chalk pastels were created.
- Last, snowflakes were glued on
24. Paper Doilies Snowflake Decorations
How easy is this one! Just get out a supply of paper doilies; tie string, yarn or ribbon – and hang about the room. Great to get the ‘Snowflake Theme’ mood going! These also make nice and easy tree decorations.
25. Snowstorm Art
Materials: ✓ Liquid Starch or Glue ✓ Brush or Q-tips ✓ Construction Paper ✓ Rice
Directions
- Generously brush starch or glue onto paper.
- Sprinkle rice on the paper.
- Shake off excess.
Conclusion
There you have it, a collection of creative snowflake arts and crafts. These ideas are perfect for the winter season.
Even as a teacher or parent, it can be fun to think back about how magical snowflakes used to seem.
Whether you made the paper snowflakes or the 3D snowflakes with styrofoam balls, you surely got the children’s creativity and engaged.
HAVE FUN WITH WINTER PAGES! Many might round-out your ‘Snowflake’ theme!
