Elsa.
Snow.
Christmas.
What do all of these things have in common? Winter! Ready or not, the winter season is upon us, bringing mixed feelings, and, if you’re like me, maybe even a little dread.
As a child growing up in the northern region of the United States, I remember winter weather and snow storms lasting from October all the way until March or even sometimes April. I remember the anticipation of the first snowfall, building a snowman and forts, and going sledding. Winter in my childhood was magical!
Something happened between the ages of 10 and 21, however, when a disgruntled attitude towards winter set in. I no longer enjoyed the freshly fallen snow and instead saw what I needed to scrape off my car in the morning. Instead of taking walks outside in the crisp air, I began to long for the days of warm weather and melting snow.
Now that I’m a parent, I desire the same kind of magical childhood for my child too.
Over the past couple of years, I’ve realized the importance of delighting in each season and all of the weather that comes with it. It is not always easy but is a good practice in gratitude and mindfulness in intentionality.
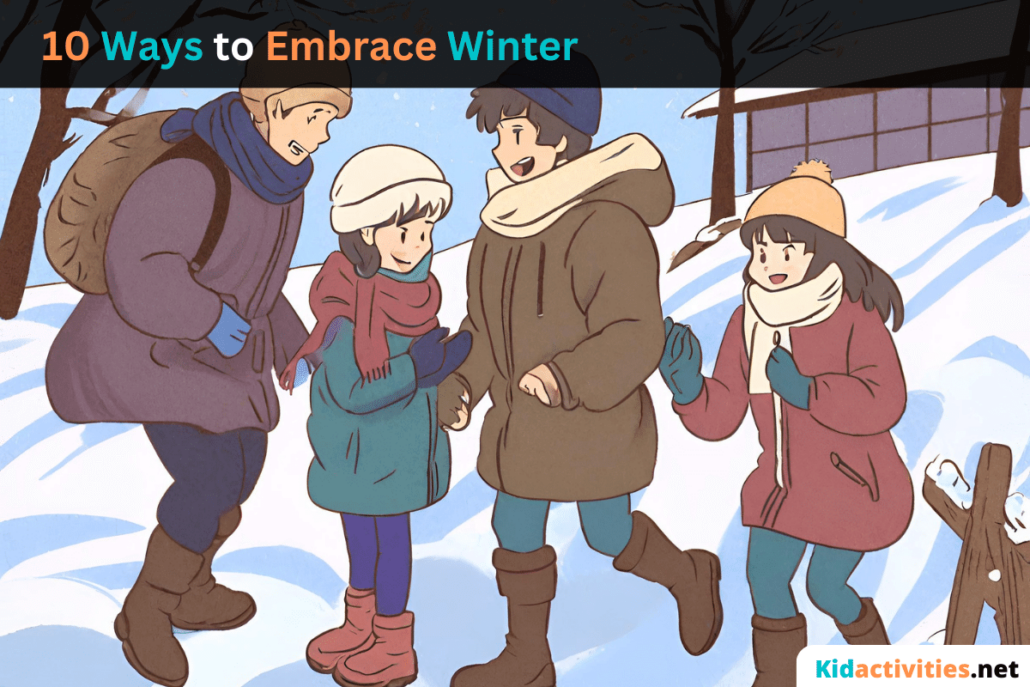
As I embark on this journey as a parent and cold-weather dweller, let me share with you ten things I’ve learned about embracing winter and why it’s helpful to do so.
1. Choose to have a good attitude.

This is a big one. And a hard one! I’ve learned that attitude is a choice, and I can choose to have a good attitude about something or a bad one. Choosing to have a good attitude doesn’t mean ignoring the hard but choosing to intentionally see the good along with the hard. It’s true what they say: children are like sponges. What you say will be repeated by little voices! I want to be a model of having a good attitude about something that is hard, not just in things that are weather-related, but in all of life.
2. Make it fun.
Sometimes when winter is hard and long, you might just need to go outside and have a snowball fight! Drinking hot cocoa with peppermint candy canes while building a fort in your pajamas might be another fun thing you need to do this winter. Ask your family what sorts of fun things they’d like to do to beat the seasonal blues this winter. Keep a few ideas in your back pocket, and pull them out on the days you really need them!
3. Create lasting rhythms.
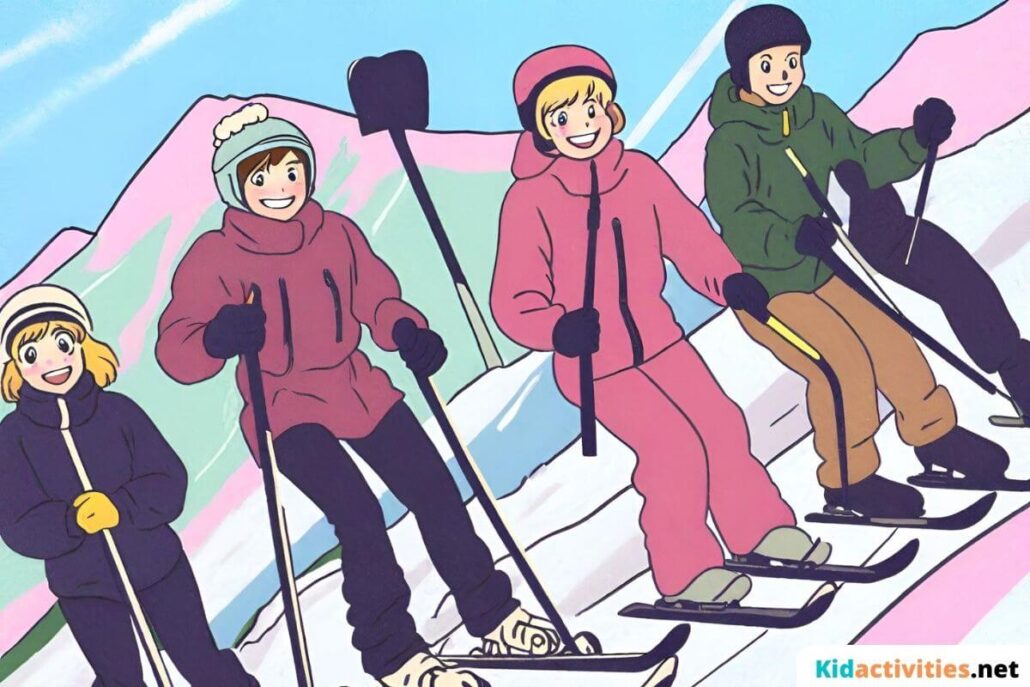
Rhythms are intentional things that happen over and over again. You can create rhythms together as a family to look forward to year after year. It’s okay to experiment and try out different winter activities to see if it’s a good fit for you and your family. Think through the things that are important to you. Do you want to spend time together as a family? Get outside as much as possible? Be active? Learn something new? A few of these activities might include skiing, snowboarding, sledding, snowmobiling, ice skating, or snowshoeing, which are all great ways to fall in love with winter.
4. Slow down.
Winter forces you into a different pace of life for a few months. Embrace it! Enjoy the quiet mornings in the stillness and read a book, work on a puzzle, journal, or knit. You may fall in love with cutting out the chaos and focusing on slow living!
5. Dress for the weather.

It can be daunting to go out in less than ideal weather conditions, whether it is too hot or too cold. Being prepared to be outside in extreme conditions is the cure for uncertainty! Being prepared in cold weather means dressing for warmth, wearing layers, and sometimes bypassing what’s “fashionable” in order for something more insulating. As someone who’s grown up in a cold place, the most important tip I can give for staying warm is to layer. Dressing for the weather will help you stay warm, which makes being outside much more enjoyable!
6. Read winter-positive books.
There are so many inspirational children’s books which are great for setting a good tone for a positive winter mindset. A few recommended titles include:
- The Mitten
- Snowy Nap
- Cozy by Jan Brett
- Snowflake Bentley by Jacqueline Briggs Martin
- Over and Under the Snow by Kate Messner
- Snow by Uri Shulevitz
- Ten Ways to Hear Snow by Cathy Camper.
Novels like Little Women or the non-fiction read Hygge are other great options for older kids or teens.
7. Embrace hygge.

The Danish and Norwegian concept of hygge has become quite popular over the past few years in cold-climate cultures. Hygge is a way of life that embraces the coziness and simplicity of being together. Wearing warm clothing like sweaters, using soft blankets, baking foods in the oven, sitting around a fire, and drinking warm beverages are all ways to embrace the hygge lifestyle. These are the best parts of cold weather and are definitely ways that can make the cold season a little easier to enjoy.
8. Spend time outside.
While wearing your warm clothing (as mentioned above), try to spend time outside when you can. It’s a great way to get vitamin D during the winter, which is essential to beating the seasonal blues. Fresh air and sunshine is an ancient and long-revered prevention against sicknesses that often run rampant during the cold season. Make it a habit to get outside at least three times a week.
9. Cultivate gratitude.

Often, the best way to combat grumbling and complaining, whether in your own mind or in your family, is by focusing on things to be grateful for. Count the blessings in your life, in all seasons, and watch yourself become more thankful. I guarantee you’ll have a better attitude about the cold by the end of it!
10. Remember it’s only a season.
Thankfully, even though some years it may seem like it, the cold and snow won’t last forever! You will once again see green grass and a yard that is not completely covered in mud or snow. There is something to be enjoyed and celebrated in each season and so many moments to capture! Don’t worry, your least favorite season (whichever it may be) will soon pass and your favorite one will come around again!
Thriving Over Surviving
I hope this winter season can be a time of rejuvenation for you and your family instead of one that you look forward to getting over quickly. With the kids home from school on winter vacation, intentionally getting outside to enjoy winter would be a wonderful way to spend time together and enjoy the cold season.
For those of you in cooler climates that do not experience the cold or snowy parts of winter, I hope you are able to apply these principals to whatever season you have that is your least favorite!
This winter season, I hope you and your family can find the rhythms needed to thrive instead of simply survive! Happy wintering!
For more content, check out our other posts about indoor winter games, December themes, or learn about which animals hibernate during winter.