
Looking for some fun outdoor summer activities for kids? Look no further. These games and activities are sure to keep the kids busy and having fun for hours. This is a great way to help them learn to play and cooperate with others as well build their social skills. Enjoy these summers games.
30 outdoor activity ideas for warm weather fun
1. Play hopscotch.
2. Jump rope. See Jump Rope ideas here on this site.
3. Take an easel outside and have the kids finger-paint.
4. Eat strawberry shortcake.
5. Plant a flower garden.
6. Have a picnic or take your snack outside!
7. Draw with sidewalk chalk.
8. Read a book together outside. (Under a tree would be nice)
9. Make a simple bird feeder. Seventeen Ideas here!
10. Play badminton or tennis. How about bocci ball or croquet?
11. Make a collage of all the things you’d like to do together this season.
12. Make personalized garden stones.
13. Start a butterfly garden.
14. Clean and spruce up outdoor toys. Wash them outside.
15. Run in the sprinkler on a hot day.
16. Have a ‘Cleaning Party’! Have kids sign-up for what they want to do. When the job is done, ‘Celebrate’
17. Play tag. See outside games
18. Make fresh salsa. Serve with tortilla chips.
19. Make a wind chime or windsocks. See Category here for ideas!
20. Make and fly kites.
21. Each week, try at least one or two new outdoors games..and Outdoor Water Games Here.
22. Make some bubble solution. Blow some bubbles.
23. Eat some watermelon. Save the seeds and have a “seed spitting contest”. (Of course each child uses their own seeds) The furthest seed wins.
24. Begin playtime with a “lap” around the play area.
25. Make and fly paper airplanes.
26. Have a Theme Party.
27. Plan your ‘summer-end event’!
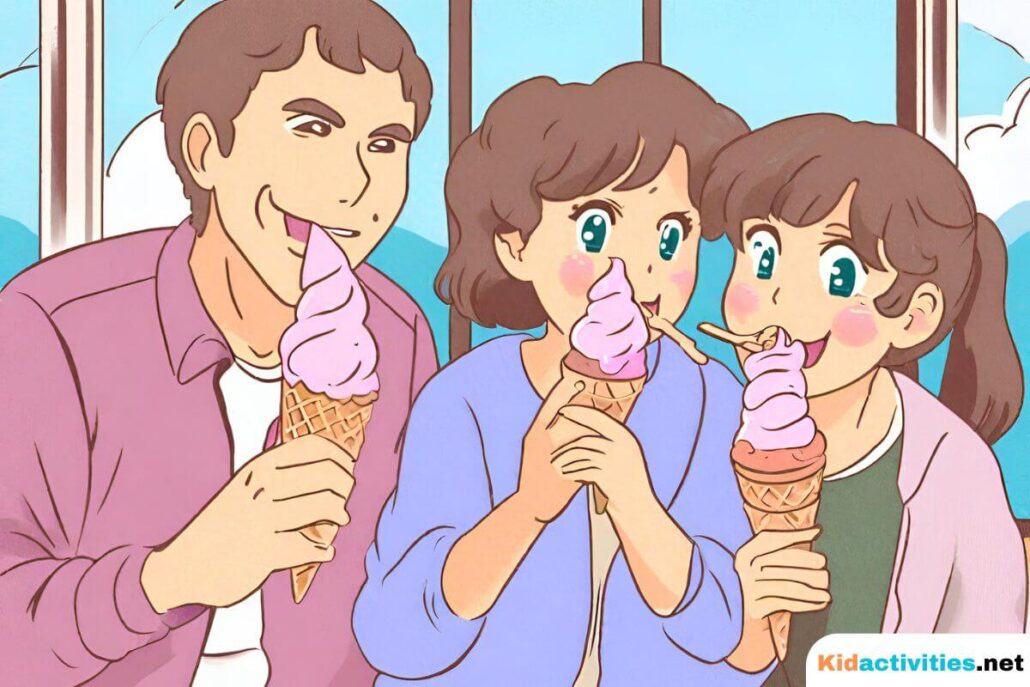
28. Have an ice-cream social or set up an ice-cream bar.
29. If you don’t already have one. Start an Earth-Day EVERY Day Club.
30. Magical evening pool
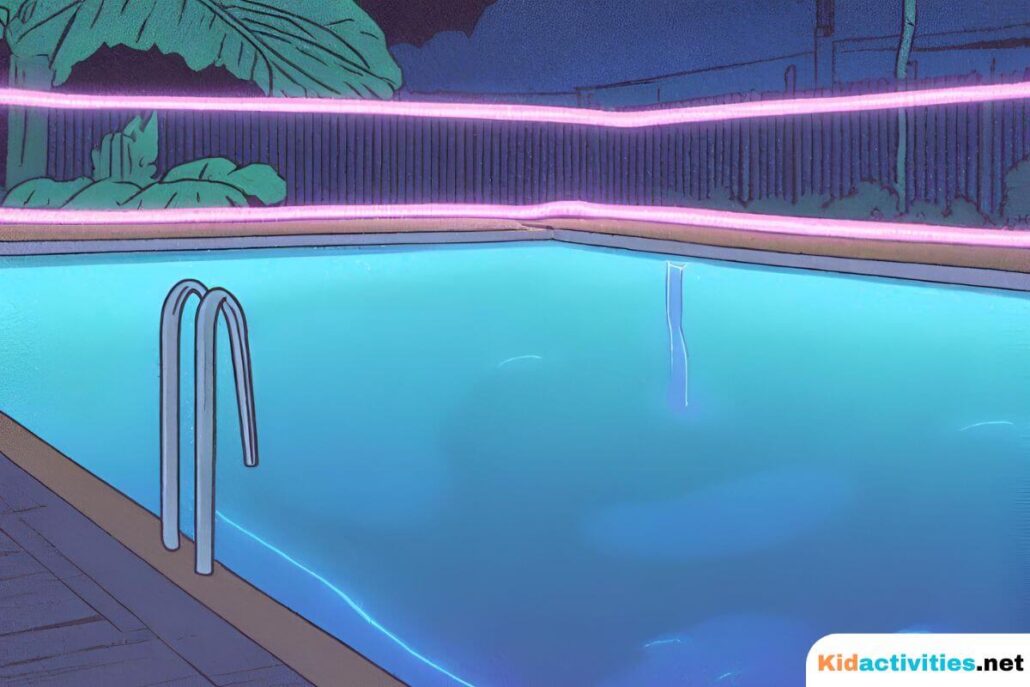
Place ‘Glow Sticks’ in several Balloons.
Place them in your pool at night to create some enchanting floating light. Check out our other swimming pool activities.
Offer activities that you normally do ‘inside’ and take them ‘outside’
Of course you can always take out bubbles and chalk, written out games with rules, etc., but consider putting a few boxes together that contain.
- Sketch books with your choice of colored pencils, pastel chalk, markers for drawing pictures of trees, flowers, each other, etc.
- Embroidery floss and yarn for making friendship bracelets.
- Yarn loops and frames for making pot holders; kids can also use the loops to make ropes and belts.
- Beads and yarn/elastic for jewelry making.
- Bags for collecting nature items for later projects.
- Wire for where imagination goes: Sculptures, art, jewelry, etc.
- Long sheets of roll paper for murals.
- Books to read under a shady tree.
- Take a nature walk. When you get back , depending on the age of the child have them write and/or draw the things they saw or collected, And on and on.
Tip: If you are a parent, these are also good ideas to do with your kids
Chalk ideas
1. Have child lay on cement. Outline the body shape in an action pose, fill in the body with realistic clothing and details.
2. Playing a game with boundaries? Pull out the chalk to mark them on the concrete.
3. Mark off broad jumps and leaps.
4. Outline shoes. Who has the largest or smallest foot?
5. A group mural
Random just for fun ideas
Idea: Consider having a jump-rope marathon (day or week.) Keep track of numbers of jumps reached and the kids try to beat their own highest number by the end of the day or week.
Ice-cream eating: No Hands Used.
Give each child a scoop or two of ice-cream in a bowl. Have them sit comfortably at a table.
The fun is that they keep their hands behind their backs and eat the ice-cream with only their mouths! It’s not a speed eating contest – Just silly fun.
Be sure to video tape and take pictures.
Do this at a family party and have Dad’s participate
idea: I scream for ice-cream! Pair this up with an ice-cream social Teach the kids: “I scream, you scream, we all scream for ice cream!” Divide the group into teams (number of teams depends on number of youth) which team can say it the loudest? Have a third party judge.
- Have children place one graham cracker sheet in a foil pie plate; sprinkle with chocolate chips, and miniature marshmallows. Cover the pie plate with tin foil (shiny side up), and label tins for each child.
- Place outside in a sunny hot place, check after 10 minutes. They are done when the sun has melted the chocolate and marshmallow. Yummy.
Idea #2 Make solar ovens
Take a shoe box and line the inside with foil (shiny side showing). Then take a kabob skewer and put it through the long way. Put plastic wrap over the top and you have an oven. The most successful things you can cook are marshmallows and hot dogs. Just set outside on a sunny afternoon. The kids will find it great fun (Also, you get science and snack all in one). Pizza boxes also make excellent solar ovens.
Make a water balloon yo-yo. Materials: Balloons, Water, Rubber bands, Markers
First fill the balloon up with water but don’t make the balloon stretch.
Next, blow the balloon up a little just so its half water and half air. Tie a knot to close the balloon. Take the rubber band and tie it on the end. If you want – decorate it with the markers. Have Fun!
Have a paper-airplane day.
Create and decorate paper-airplanes. Come up with categories for the fun.
Example:
Who’s can go the farthest? Straightest? Highest?
Can anyone fly it through a hula hoop? Do loops?
Make a ‘bull’s-eye’ similar to what you would use for playing darts; can anyone hit the bulls eye or the outer circles?
Make a potato head plant

1. Cut off both ends of a potato.
2. Stand the potato upright on one of the flat cut surfaces and scoop out a hole in the other end.
3. Carve out a face on one side of the potato.
4. Have the children place two cotton balls in the potato’s scooped-out top.
5. Let them water the cotton balls and sprinkle them with grass or alfalfa seeds.
6. Place in a sunny spot and watch his hair grow.
Recycle. Wacky shoes old shoes fun shoes decorating shoes
Put out a variety of decorating items such as pom-poms, beads, jewels, pipe cleaners, etc. Have kids bring old shoes and watch creativity explode! Depending on the material of the shoes-use either a good white glue or hot glue.
Have a beach party
In cold weather climates we often have “A Beach Party” Theme in January/February to boost our spirits–BUT don’t forget about the theme during sunny weather AND and have it outside! (Great for a ‘Good-Bye to Summer’ Theme!)
- Play beach music and beach-ball volley ball; put umbrellas in the drinks, limbo dance, make ice-cream and leis! Check out the Outdoor Water Games Here
This one is always great for ouside summer fun-the kids never tire of it. Mentos eruption – Soda Geyser or just Diet Coke and Mentos. This is a reaction between Mentos candy and cola. The experiment involves dropping several Mentos candies (usually 5–8) into a bottle of diet cola resulting in an eruption occurring because of rapidly expanding carbon dioxide bubbles on the surface of the Mentos.
I recently tried this experiment with three of my students (Ages 6, 8,11 ) They all loved it. We quickly put five mentos into the Coke. The reaction starts ‘immediately’-so be quick!
If you want an explanation:
There are various theories being debated as to the exact scientific explanation of the phenomenon, many scientists claim that it is a physical reaction and not a chemical one. Water molecules strongly attract each other, linking together to form a tight connection around each bubble of carbon dioxide gas in the soda. To form a new bubble, water molecules must push away from one another. It takes extra energy to break this surface tension. So, in other words, water resists the expansion of bubbles in the soda.
When Mentos are dropped into soda, the gellan gum and gum arabic of the candy dissolves and breaks the surface tension. This disturbs the water connection, so that it takes less work to expand and form new bubbles. Each Mentos candy has thousands of tiny pores over its surface. These tiny pores function as nucleation sites, perfect places for carbon dioxide bubbles to form. As soon as the Mentos enter the soda, bubbles form all over their surface. They quickly sink to the bottom, causing carbon dioxide to be released by the carbonated liquid with which they come into contact along the way. The sudden increase in pressure pushes all of the liquid up and out of the bottle.
From: wikipedia.org
Alka-seltzer rocket – Is a model rocket fashioned from a 35mm film canister and propelled by the generation of gas from an effervescent liquid. It is often used in science classes to demonstrate principles of chemistry and physics to students.
1. In the experiment, a film canister is filled with water and an effervescent tablet (commonly Alka-Seltzer) and tightly sealed.
2. After a short time, the evolved carbon dioxide reaches sufficient pressure to cause the body of the canister to be launched into the air with a popping sound.
3. The canister may be elaborated (or not) with paper fins to resemble more closely a real rocket.
Lessons based around the Alka-Seltzer rocket can focus on a number of principles. For example, the students are sometimes asked to experiment with the amounts of water and Alka-Seltzer to find the combination which propels the rocket the greatest distance.
Alternatively they may derive equations to calculate the speed and velocity of the rocket from the distance it travels.
Source: wikipedia.org
Important summertime tip
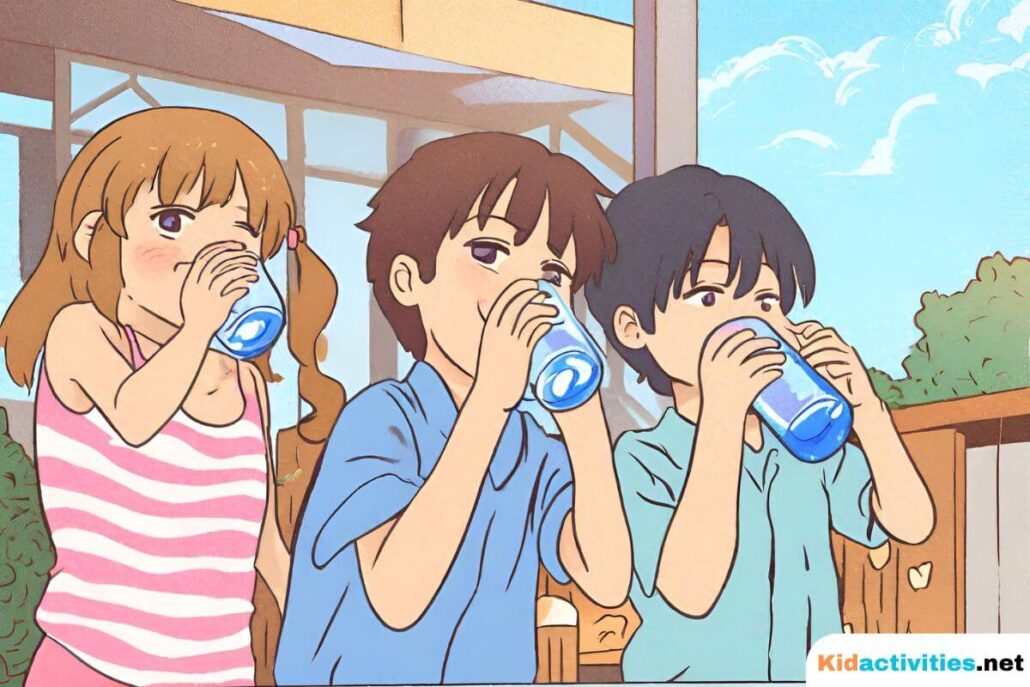
How much water do kids need when playing outside? when it’s hot outside, and kids are playing sports – or even just actively playing – head off problems by making sure they drink fluids before, during and after activity.
As a guideline, encourage at least 4 ounces of fluid every 15-20 minutes, or whenever there’s a break or time-out. Tip: One ounce equals about one “gulp.” So kids need a minimum of 4 gulps of water every 20 minutes.
In high temperatures, kids don’t sweat as much as adults do, so it’s harder for them to cool off. This makes them more at risk for dehydration and heat exhaustion.
Here’s a ‘cool’ summer/warm weather community service idea – pennies for popsicle.
Collect pennies and then provide popsicles for a kids’ homeless shelter. They’ll love it.
One group collected 19,447 pennies. A lot of popsicles.
Adopt a tree. Find a special tree on your playground and explain that your kids can adopt that tree as your “pet” plant. Have a contest to name the tree. (This is a great way to use a graph!)
Take photos of your tree and encourage the children to draw pictures of it during different seasons.
- Ask children to hug your tree. What does it feel like? What does it smell like? Can you hear your tree?
- Measure the tree.
- Read books, have picnics, or sing songs under your tree.
Make a solar clock
Materials: Piece of 12″ square cardboard, an empty thread sppol, a pencil, white glue
Glue the spool in the middle of the cardboard. Put the pencil in the hole in the spool. On a sunny day. Put the cardboard and pencil in a sunny spot at 8:00 a.m. Write the number 8 where the pencil shadow ends on the cardboard. Do the same at 10:00 a.m., 12:00 a.m., etc., until it gets dark. You now have a solar clock, Or,
Looking at the sun. You should never look directly at the sun but there’s a safe way to see the sun’s light. You’ll need two index cards, and scissors. Poke a small hole in one index card so that sunlight can shine through it. Hold another card below the hole so that the sunlight shines on it!
Back to Page 1 for summer Art and Craft Ideas!
Also, be sure to check out the ‘category list’ on the left side of the page. There are loads of ideas and themes under ‘Seasons’ Spring and Summer.
