Why are science experiments important? Kids are naturally inquisitive and love learning new things.
What better way to satisfy their curiosity than through science! Not only will the kids be having fun conducting these experiments but they will be learning too.
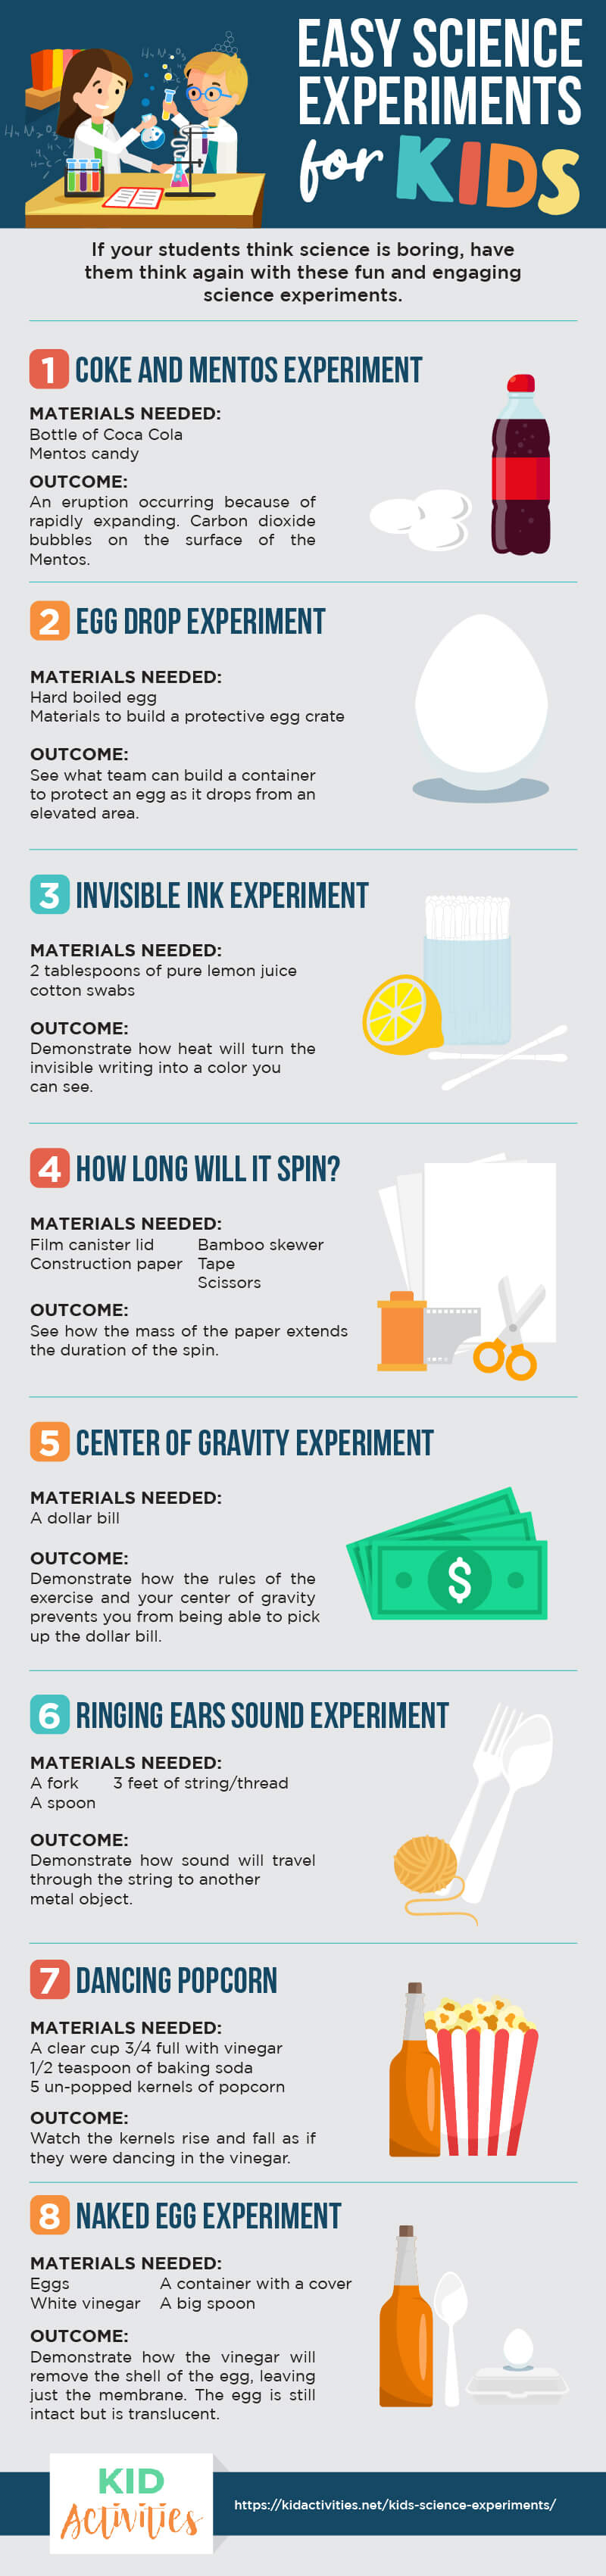
This guide will share 16 cool kids’ science experiments. They range from experiments involving diet coke and mentos to more elaborate experiments that create mummified apples.
List of 16 Science Experiments
1. Coke and mentos experiment for kids
This is a reaction between Mentos candy and cola. The experiment involves dropping several Mentos candies (usually 5–8) into a bottle of diet cola resulting in an eruption occurring because of rapidly expanding carbon dioxide bubbles on the surface of the Mentos.
If you want an explanation:
There are various theories being debated as to the exact scientific explanation of the phenomenon, many scientists claim that it is a physical reaction and not a chemical one.
Water molecules strongly attract each other, linking together to form a tight connection around each bubble of carbon dioxide gas in the soda.
To form a new bubble, water molecules must push away from one another. It takes extra energy to break this surface tension. So, in other words, water resists the expansion of bubbles in the soda.
When Mentos are dropped into soda, the gellan gum and gum arabic of the candy dissolves and breaks the surface tension. This disturbs the water connection so that it takes less work to expand and form new bubbles.
Each Mentos candy has thousands of tiny pores over its surface. These tiny pores function as nucleation sites, perfect places for carbon dioxide bubbles to form. As soon as the Mentos enter the soda, bubbles form all over their surface.
They quickly sink to the bottom, causing carbon dioxide to be released by the carbonated liquid with which they come into contact along the way. The sudden increase in pressure pushes all of the liquid up and out of the bottle.
2. Alka-seltzer rocket experiment

A model rocket fashioned from a 35mm film canister and propelled by the generation of gas from an effervescent liquid. It is often used in science classes to demonstrate principles of chemistry and physics to students.
1. In the experiment, a film canister is filled with water and an effervescent tablet (commonly Alka-Seltzer) and tightly sealed.
2. After a short time, the evolved carbon dioxide reaches sufficient pressure to cause the body of the canister to be launched into the air with a popping sound.
3. The canister may be elaborated with paper fins to resemble more closely as a real rocket.
(K-A tested) more simple rocket launch. Fill a small plastic film canister (Fuji works well) with one teaspoon of water. Quickly add one Alka-Seltzer tablet, put the lid on and place the canister on the floor with the lid side down. Wait about 10 seconds and whoosh! Your rocket should fly into the air.
3. Building a macaroni skeleton
Materials
| Black construction paper (approximately 6″ x 11.5″) | Glue that will dry clear |
| Lima beans (head, thorax, hips) | Thin twisted macaroni (arms, legs) |
| Elbow noodles (ribs) | Short, small macaroni in a tube (spine) |
| Small shells (joints) | Small shells (joints) |
| Spaghetti (fingers, toes) | Black permanent marker |
Directions:
- Build a sample skeleton for the children to copy from. Review the key features with them.
- Guide children to build their skeleton working from the head down (i.e., head, neck/trunk, ribs, etc.), gluing the macaroni and beans to the paper as they go.
- When the glue and macaroni have set, have them draw a smile and eyes on the “head”.
Tip – As preparation for this project, study the human skeleton. Talk about symmetry between the two sides of the body, and how many ribs, fingers, and toes we have.
4. Egg drop science experiment
(K-A tested-the grade school and middle school kids loved it!)
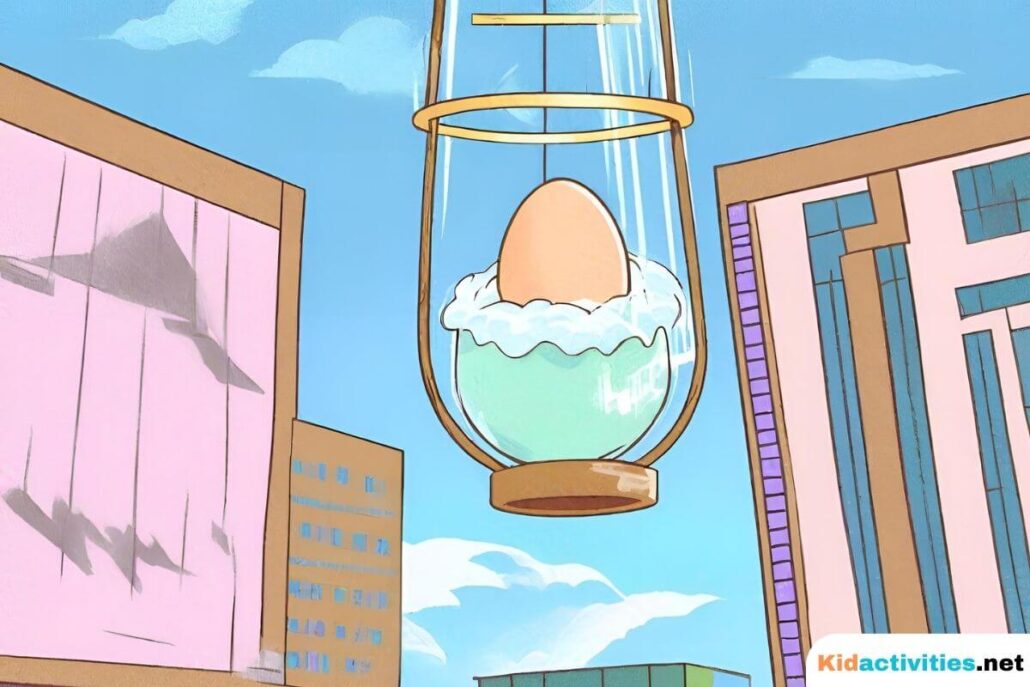
Each student works within guidelines to fashion a container for an egg so that the egg won’t break when the student drops it from an established height.
Use hard-boiled eggs (you could probably do raw-but be cautious of Salmonella and spoilage!).
Have each child create their own container for the egg – with the purpose of the egg not breaking. Some kids have used “parachutes,” and cans with foam. It can be a lot of fun!
Of course, everyone’s hypothesis should be that their egg won’t break.
The testing is the fun part when the kids see if their egg remains intact. For this, you want to drop the egg container from the highest available point. A second-floor balcony, off the top bleacher of the football field or by a teacher on a ladder?
*Even though this is for older students, it can be adapted to the lower grades without going into weight and velocity.
5. Invisible ink science experiment
Materials:
- 2 tablespoons of pure lemon juice
- Cotton swabs
Directions:
- Pour the lemon juice into a small dish.
- Soak the end of a cotton swab in the lemon juice and use it to write a secret message or a picture.
- To read or see your secret message, hold the paper near a warm light bulb, burner, or toaster.
- The heat will turn the invisible writing brown and you can see it!
6. Spin experiment for kids (how long can you spin?)
Needs:
- Film canister lid
- Construction paper
- Bamboo skewer
- Tape
- Scissors
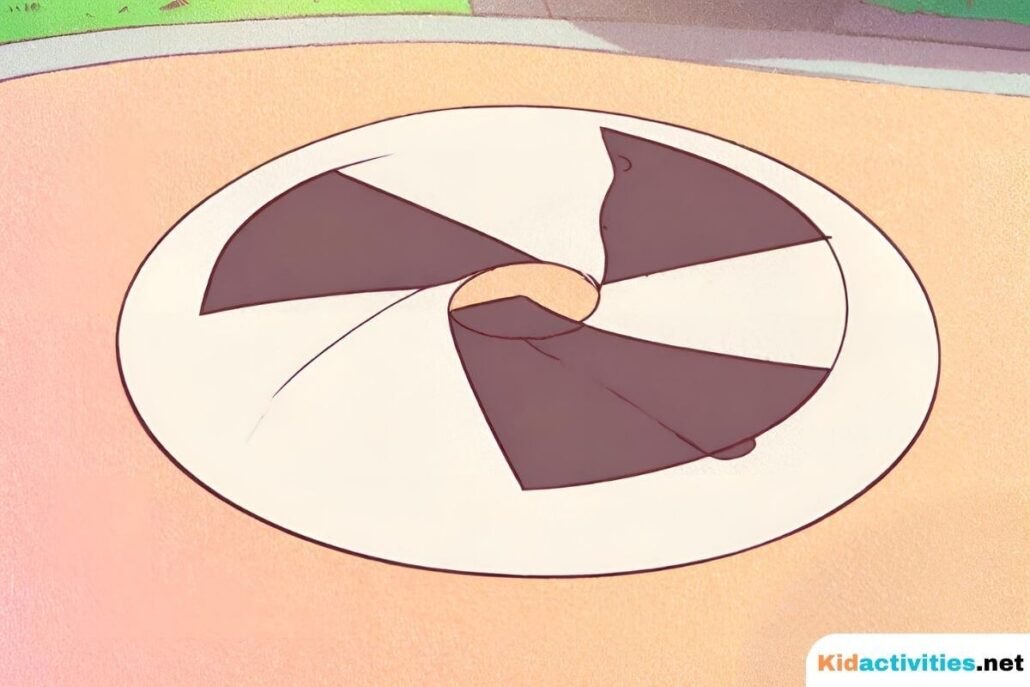
- Cut a circle out of construction paper, about the size of a DVD or CD.
- Tape a film canister lid to the center of the paper circle. (You can draw a design on it-that would look interesting spinning)
- With an adult – poke or drill a hole through the film canister lid.
- Poke the skewer through the hole in the lid.
- Keep the paper circle near the point of the skewer. Give the skewer a twirl.
How does it work
The paper circle gives the skewer extra mass. When you twirl the skewer, you also twirl all the mass of the paper circle. A spinning mass tends to keep spinning unless something like friction slows it down.
About 72% of kids can make it spin more than 10 seconds
7. Center of gravity experiment
Even George Washington couldn’t do this dollar pick-up trick! Tell the children you’ll give them each a dollar if they can pick it up from the floor. But there is a catch: They have to pick it up using your instructions. You’ll have fun fooling them with this easy indoor game for kids.
You’ll need a dollar bill and a wall
Step 1: Have children stand with their feet together and heels up against a wall.
Step 2: Put dollar bills on the floor 12 inches in front of their feet.
Step 3: Tell them to pick up the dollars without bending their knees or moving their feet.
It is impossible to do! Why? When you are standing against a wall, your center of gravity is over your feet. If you bend forward, you have to move your center of gravity forward to keep your balance. Since you can’t move your feet during this trick, you’re flat out of luck. But that’s better than being flat on your face.
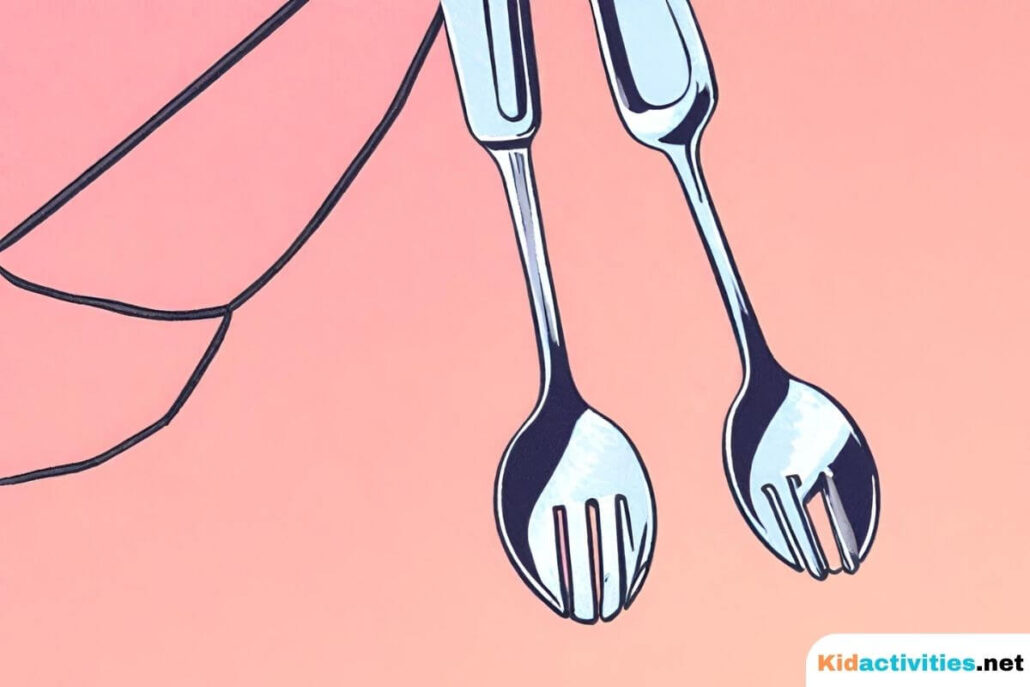
8. Ringing ears – Simple sound experiment for kids
Materials:
- A Fork
- A Spoon
- 3 feet of String/Thread
Steps:
- Take the string and tie the fork to the center of the string/thread.
- Take one end of the string/thread and tie it around your right index finger (pointer), then tie the other end of the string/thread around your left index (pointer) finger.
- Place your fingers (index/pointer) to your ears and let the fork dangle in front of you.
- Get someone to tap the fork with the spoon. You should hear loud ringing in your ears.
The ringing sound travels up the string/thread to your ears.
You could tie other metal objects to the string/thread to see what sounds travel to your ears.
9. Mummification science experiment
Discover how the Ancient Egyptians used drying as one step
#1 Experiment: fish mummy
Need:
- l raw fish from the market
- Two boxes of baking soda
- Kitchen scale
- Plastic container with a lid
Instructions:
- Weigh the fish on a kitchen scale.
- Coat the fish inside and out with baking soda, and bury it completely in baking soda in the plastic container. Let it sit this way for a week in a cool shady place (in a refrigerator, if you like).
- After a week, take it out, dust it off, and weigh it again. Re-bury it in fresh baking soda, for another whole week.
- Take it out and weigh it once more.
What does the fish look, feel, and smell like?
How does it work
Baking soda acts as a preservative and drying agent. The weight loss you noticed is due to the removal of water by the baking soda. Drying the fish is essential to making it a mummy. What happened after the first week? After the second week?
10. Sink or float – water buoyancy experiments
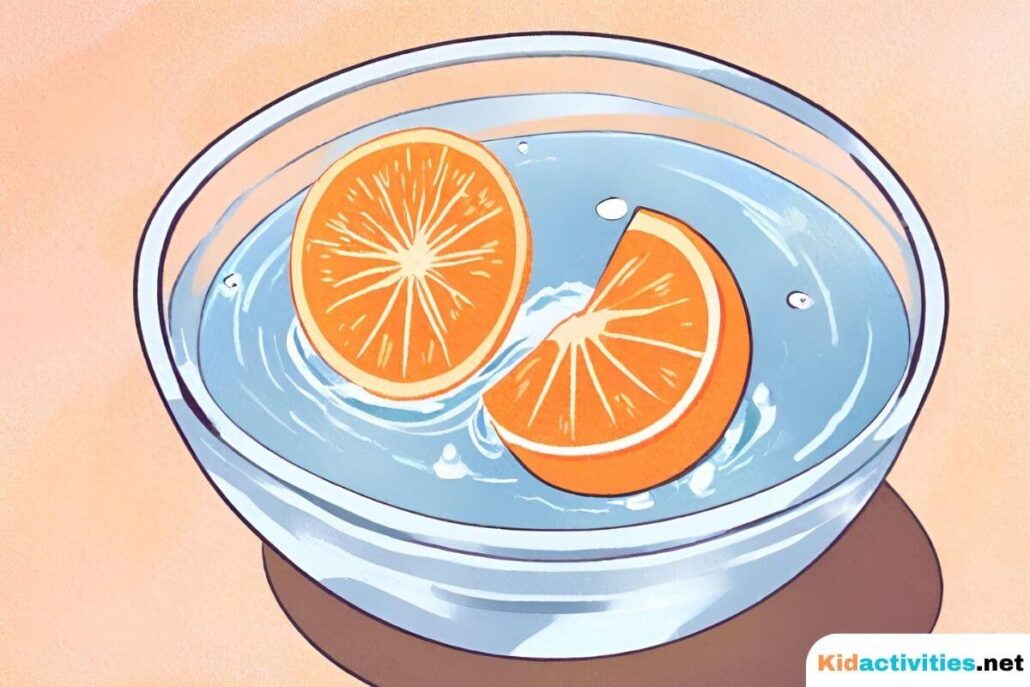
Can you sink an orange?
What you need?
✓ A Bowl ✓ Water ✓ 1 Orange
How to do it:
- Fill the bowl with water.
- Put in the orange…What happens to the orange? See if you can get the orange to sink.
- Take the orange and peel it.
- Place the peeled orange back in the bowl of water. What happens this time?
- The orange sinks because the orange peel if full of trapped air pockets, therefore making the orange light for its size (so it floats).
- When you remove the peel (including the air pockets) the orange weighs a lot for it.
Along with the above experiment try a ‘Sink or Float with a Pumpkin or Watermelon.
- Fill a bin or aquarium or tub half full of water. Place everyday items near the bin. Get the kids to guess which items would sink and which ones would float. Have youth write their guesses in their notebooks. Then do the experiments to determine if they were right or not.
- Be sure to add watermelon to the guess! (You can eat it afterward!) Pumpkins are also fun. The pumpkin and watermelon will float because its mass is less than the mass of water it displaces. This is due primarily because the inside of the pumpkin and melon are hollow. It is mostly air, which has a much lower mass than water.
11. Crystal growing experiment
- Epsom salt, a tablespoon
- A cup of water
- A paper circle
- A jar lid
Instructions:
- Cut out a paper circle the same size as the jar lid. Put the circle in the lid.
- Measure 4 big tablespoons of Epsom salt. Don’t worry if you add too much – the more, the better.
- Dissolve all 4 tablespoons in the water and stir the mixture thoroughly.
- Pour the water mixture into the jar lid. Stick the lid in a place where it won’t be disturbed. It will take a few days, but let the water evaporate and see what happens.
How does it work
In a few days, the water will evaporate from the lid. But the Epsom salt will be left behind. The salt will build up into its own unique crystal shape. You can make a miniature rock forest.
This is a classic science experiment and an easy one. To make the volcano, mix 6 cups flour, 2 cups salt, 4 tablespoons cooking oil, and 2 cups of water. The mixture should be smooth and firm.
Stand a large soda bottle in a baking pan or shallow dish, and begin to shape the dough around it. Don’t cover the hole and don’t drop any of the dough into it. Fill the bottle about three-quarters full with warm water and a few drops of red food coloring. Add 6 drops of liquid detergent to the bottle, and 2 tablespoons of baking soda.
Slowly pour vinegar into the bottle and step back.
13. Dancing popcorn
Fill a clear cup 3/4 full with vinegar. Add 1/2 teaspoon baking soda. Drop-in a few kernels of unpopped popcorn. Watch as the kernels rise and fall.
Variations: Try substituting club soda for the vinegar and baking soda. You can also try using other objects like buttons or pebbles.
14. Bread mold experiment
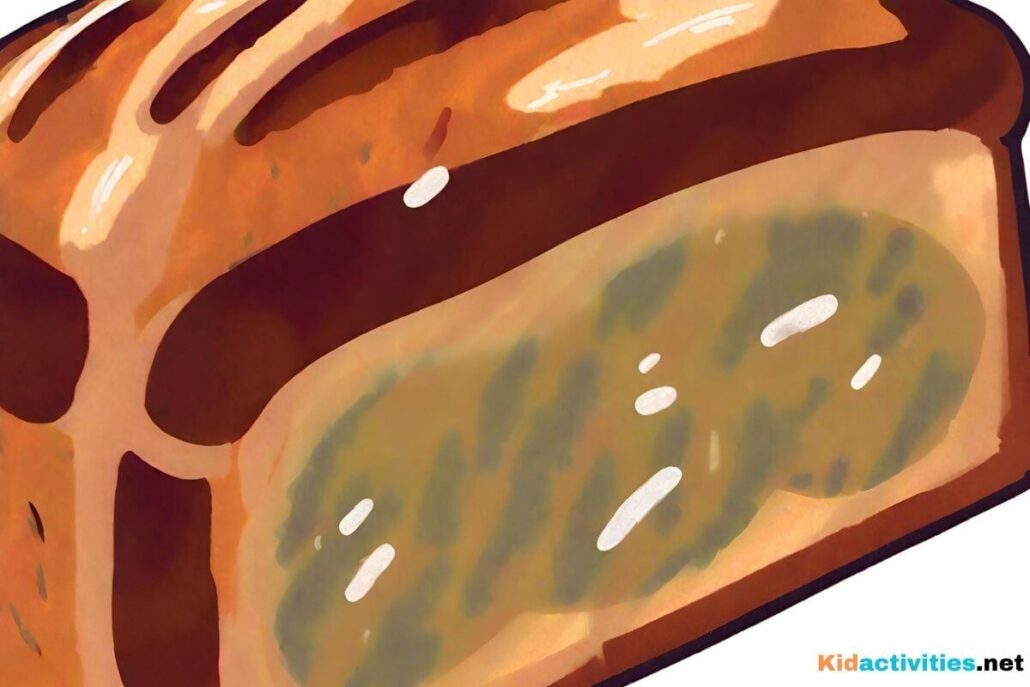
This is a very easy science experiment. The most difficult part is the patience to see the experiment through.
Children seem to love watching mold grow. Here is a safe way to experiment with mold.
- Give children a small zip-lock bag and a piece of bread.
- Have them place the bread into the bag and then add a teaspoon of water. Zip up the bag and set out the bag to observe.
- After a few days, mold will appear on the bread.
- Discard bags unopened, when the experiment is over.
- Variation: You may want to repeat this experiment, but this time make two bags of water and bread and put one in the center and one in the refrigerator. Which one grows mold the fastest?
15. Fingerprint lift experiment
Here’s an amazing trick that lets children try their hands at a little forensic science by lifting their own fingerprints.
1. Individually, have each child press their fingertip on a pocket mirror.
2. Cover the entire print with graphite dust by rubbing a soft pencil with sandpaper.
3. Blow gently to remove excess dust.
4. Now carefully stick a strip of tape to the print and slowly peel it off. Stick the tape to a piece of white paper, and the print should be distinct. You can inspect the fingerprint under a magnifying glass, or just with the eye. If you go to the wiki website, I you can decide whether the fingerprints are ‘s’ whirl, loop, or an arch.
16. Make a ‘naked egg’ – Egg in vinegar experiment
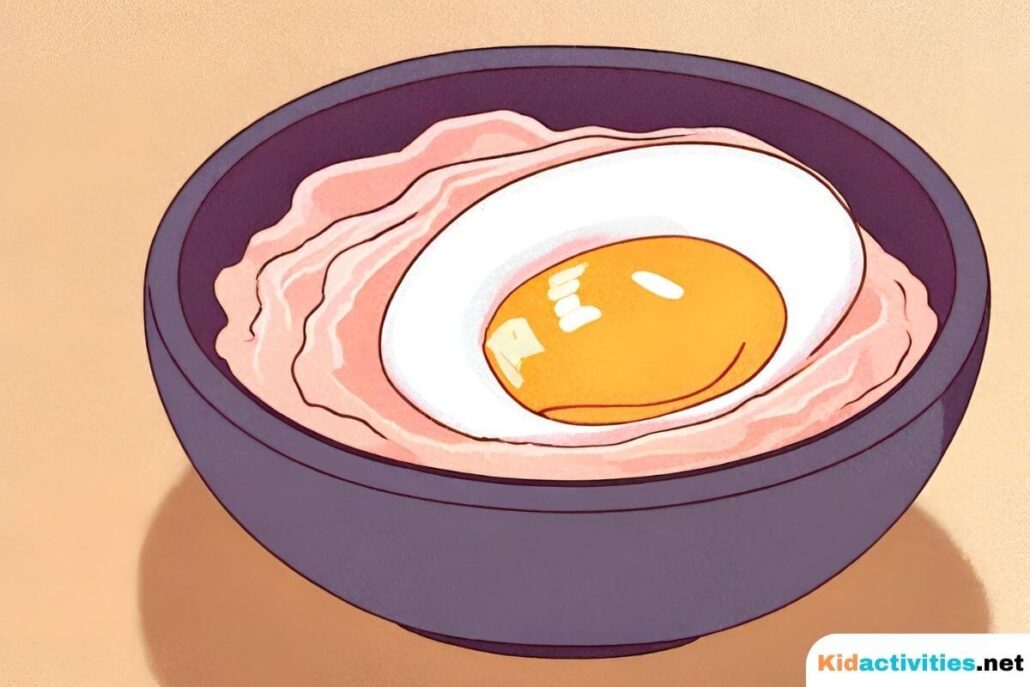
A naked egg is an egg without a shell. Using vinegar, you can dissolve the eggshell without breaking the membrane that contains the egg.
- Eggs
- White vinegar
- A container big enough to hold all the eggs
- A cover for the container
- A big spoon
- Place eggs in the container so that they are not touching.
- Add enough vinegar to cover the eggs. Notice that bubbles form on the eggs. Cover the container and put it in the refrigerator. Let the eggs sit in the vinegar for 24 hours.
- Using the spoon, scoop the eggs out of the vinegar. Be careful the eggshell has been dissolving. The egg membrane, which is not as durable as the shell, maybe the only thing holding the egg together.
- Carefully dump out the vinegar. Put the eggs back in the container and cover them with fresh vinegar. Leave the eggs in the refrigerator for another 24 hours.
- Scoop the eggs out again and rinse them carefully. Throw out the eggs where the membranes have broken and are oozing out.
- When complete, there will be an egg without a shell. It looks like an egg but is translucent. The membrane will flex when squeezed.
Explanation:
An eggs shell dissolves when submerged in vinegar.
Vinegar contains acetic acid, which breaks apart the solid calcium carbonate crystals that make up the eggshell into their calcium and carbonate parts.
The calcium ions float free (calcium ions are atoms that are missing electrons), while the carbonate goes to make carbon dioxide.(Those are the bubbles that you see)
Note: The shell dissolved in 24 hours. Although directions say to put the egg in the refrigerator, I forgot to. (It still came out fine) The remainder of the experiment was followed as directed. After a couple of days, you could actually see the yolk floating within the membrane. Both kids and adults liked this one! The egg feels rubbery but it does ‘splat’ when dropped.
More articles about science:
- Kids Experiment With Plants and Life Cycles…
- Collecting Critters (Insects)
- Mad Science Theme for Clubs and Parties
Infographic