President’s Day Games and Activities
President’s day is a unique holiday. Let’s Celebrate our Founding Fathers with this list of President’s Day games and activities for kids of all ages. President’s Day happens on the 3rd Monday in February every year. Here’s the list of dates for the next few years so you can plan your celebration for next year!
President’s Day Dates for the coming years:
| 2019, February 18 | Monday |
| 2020, February 17 | Monday |
| 2021, February 15 | Monday |
| 2022, February 21 | Monday |
| 2023, February 20 | Monday |
| 2024, February 19 | Monday |
| 2025, February 17 | Monday |
| 2026, February 16 | Monday |
President’s Day Preschool Activities
1. Write to the President:
The White House
1600 Pennsylvania Avenue NW
Washington, DC 20500
Or, you can contact the White House here.
2. President’s Day celebration based on Days of Old
It might be fun to have some Colonial Games & Treats. Head to our Colonial Theme section for all kinds of great ideas.
A few quick ideas:
- Have kids come dressed in colonial attire
- Have kids write their names using a quill pen and parchment paper
- Have sack races using traditional burlap bags
- Play marbles or have a marbles tournament
- Make Apple Head or Corn Husk dolls
- Play “Scotch-Hoppers” or as we know it, Hop Scotch!
- Play LeapFrog
- If it is a windy day, fly some kites
- Spin tops
- Play Cat’s Cradle
- Play Tag
- Play Hide and Seek
3. Colonial Feast
- Cornbread or muffins
- Bread with apple butter
- Baked beans
- Corn on the cob
- Roasted chicken or stew
- Molasses cookies
- Rock candy
- Old-fashioned stick candy
- Fruit pies and tarts
- Pumpkin bread
See more recipes in our Colonial Section
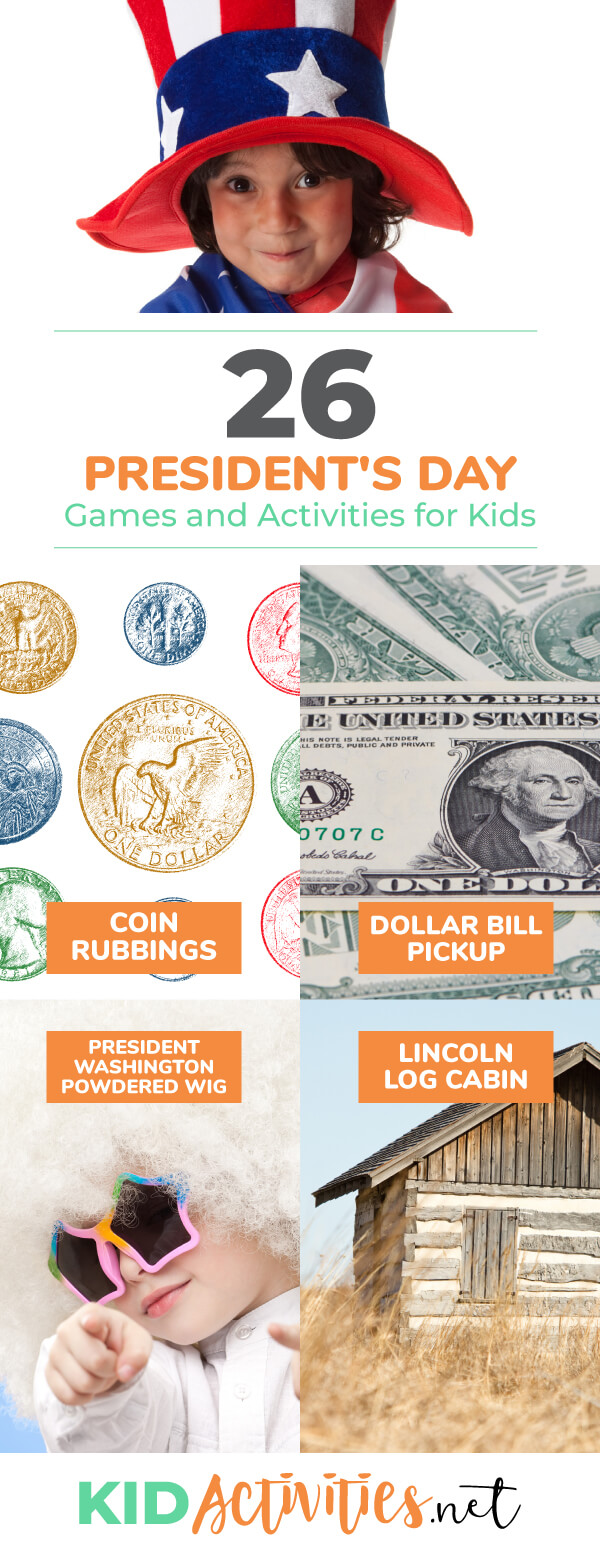
4. Dollar Pick Up Tricks
Even George Washington couldn’t do this dollar pick-up trick! Tell the children you’ll give them each a dollar if they can pick it up from the floor. But there is a catch: They have to pick it up using your instructions. You’ll have fun fooling them with this easy indoor game for kids.
Step 1: Have children stand with their feet together and heels up against a wall.
Step 2: Put dollar bills on the floor 12 inches in front of their feet.
Step 3: Tell them to pick up the dollars without bending their knees or moving their feet.
It is impossible to do! Why? When you are standing against a wall, your center of gravity is over your feet. If you bend forward, you have to move your center of gravity forward to keep your balance. Since you can’t move your feet during this trick, you’re flat out of luck. But that’s better than being flat on your face!
Cherry Tree Art Ideas (For George Washington and Presidents Day)
Make sure to visit the Cherry themed page on our site for more art, crafts, games, and food ideas!
5. Arm, Hand, and Finger Painting
Instructions
- Paint each child’s arm brown and hand and fingers green.
- Have them put it on construction paper to make a tree.
- Placing the green hand a few times on the paper – makes a nice tree.
- After, dip fingers in red paint to make cherries. Messy but the kids will love it.
6. Popcorn Cherry Blossoms
Instructions
- Put popped popcorn and pink powdered tempera paint in a baggie and shake.
- It makes great cherry blossoms for a spring art project or for President’s Day.
They look very real.
7. Cherry Trees with Twigs
Instructions
- Glue twigs on sheets of sturdy white paper to make trees.
- Have children attach small red circle sticker “cherries” or use fingerprints dipped into red finger paints. (You can also use the popped popcorn as above. See more directions here)
8. Toilet Paper Cherry Tree
Materials:
- Toilet paper roll
- Green & red construction paper
- Glue
- Hole punch
- Stapler
Instructions
- Cut a cloud-type shape out of green construction paper that is folded in half so you will get 2 pieces with the same shape (front & back of tree). Make sure that it is big enough to go around TP roll.
- Staple the top and sides of the tree together leaving the bottom open so it’s like a pocket.
- Use a hole punch to make cherries out of red paper.
- Put glue on the tree and have children put cherries on their tree while counting them.
- When dry stick TP roll in the pocket and staple to make it tight around the trunk.
9. Construction Paper Cherry Tree
Visit freekidcrafts for directions.
10. Me & Abe
Here’s a fun activity
- Abe was 6’4″ tall. On a large roll sheet of paper, have the children draw Abe at his exact height.
- 6’4” is pretty tall, especially when you add the stovepipe hat!
- When complete, take a photograph of the kids standing in front of Abe! (either in groups or individually)
- Make a copy for each child or put group photographs in this year’s scrapbook.
11. Eight More President’s Day Activities
Instructions
- Decorate the room with red, white, and blue. See Patriotic Theme Ideas from our site.
- Have kids dress in red, white, and blue.
- Children might also have fun wearing white wigs or black hats. Help them make this paper bag powdered wig.
- Play patriotic music throughout the day.
- Read aloud some famous presidential speeches and, if you have older kids, have them recite them and perhaps even memorize a line or two.
- Abe Lincoln was born in a log cabin. Make your own with Popsicle sticks, hot glue, and a marker.
- Have a coin toss with pennies and quarters, the most famous presidential coins!
- Make a menu of Presidential favorites. There is a great list of Presidents’ Day recipes at CD Kitchen. (From Laura Bush’s hot chocolate to George Washington’s cake recipe)
President’s Day Games

12. Play a game of hangman using all the President’s names.
A great to learn and spell the Presidents’ names!
13. Truth or Bluff
This is a fun President’s Day and Voting party game for older children, if it’s played by a group of people who know each other well. Participants will have to be very good at telling tall tales!
Instructions
- All that’s required for the game is a coin, and something to hide it under.
- The first player thinks of a story about his or herself to tell the group, and hides the coin.
- If the story is true, they hide the coin heads-up; if it’s untrue, they hide it tails-up.
- They tell their story to the other players, and they each decided whether the story was true or not.
- The player who told the story reveals the coin, and the people who guessed correctly get a point.
- The player with the most points after everyone has told a story wins!
14. Presidents Day Game #2: How Well Do You Know the Presidents?
This fun President’s Day game will test whether you know as much as you think you know about past American presidents. It is best suited to older children and adult players.
Instructions
- Prior to the game, prepare answer sheets that have the names of 10-20 presidents listed down the left-hand side.
- On the right-hand side, have the same number of blank spaces down the page.
- The object of the game is to, in pairs if desired, correctly list the presidents in chronological order of when they were president.
- The person or pair with the most correct answers is the winner of this President’s Day game.
15. Celebrate Lincoln’s Birthday
Instructions
- Make a graph with 2 columns, heads and tails.
- Have the children choose heads or tails and give each a penny and have them take turns tossing it.
- They can either record by coloring a square each time the penny lands on a tails or heads, or put a checkmark in their column.
- The first column that fills up is the winner. Children can even make a prediction as to which column will fill up first.
16. Guess How Many Jelly Beans or Peanuts?
President Jimmy Carter was a peanut farmer. Ronald Reagan loved jelly beans so much he kept them in a dish at the Oval Office. Why not bring some of these favorites to this fun President’s Day game?
Instructions
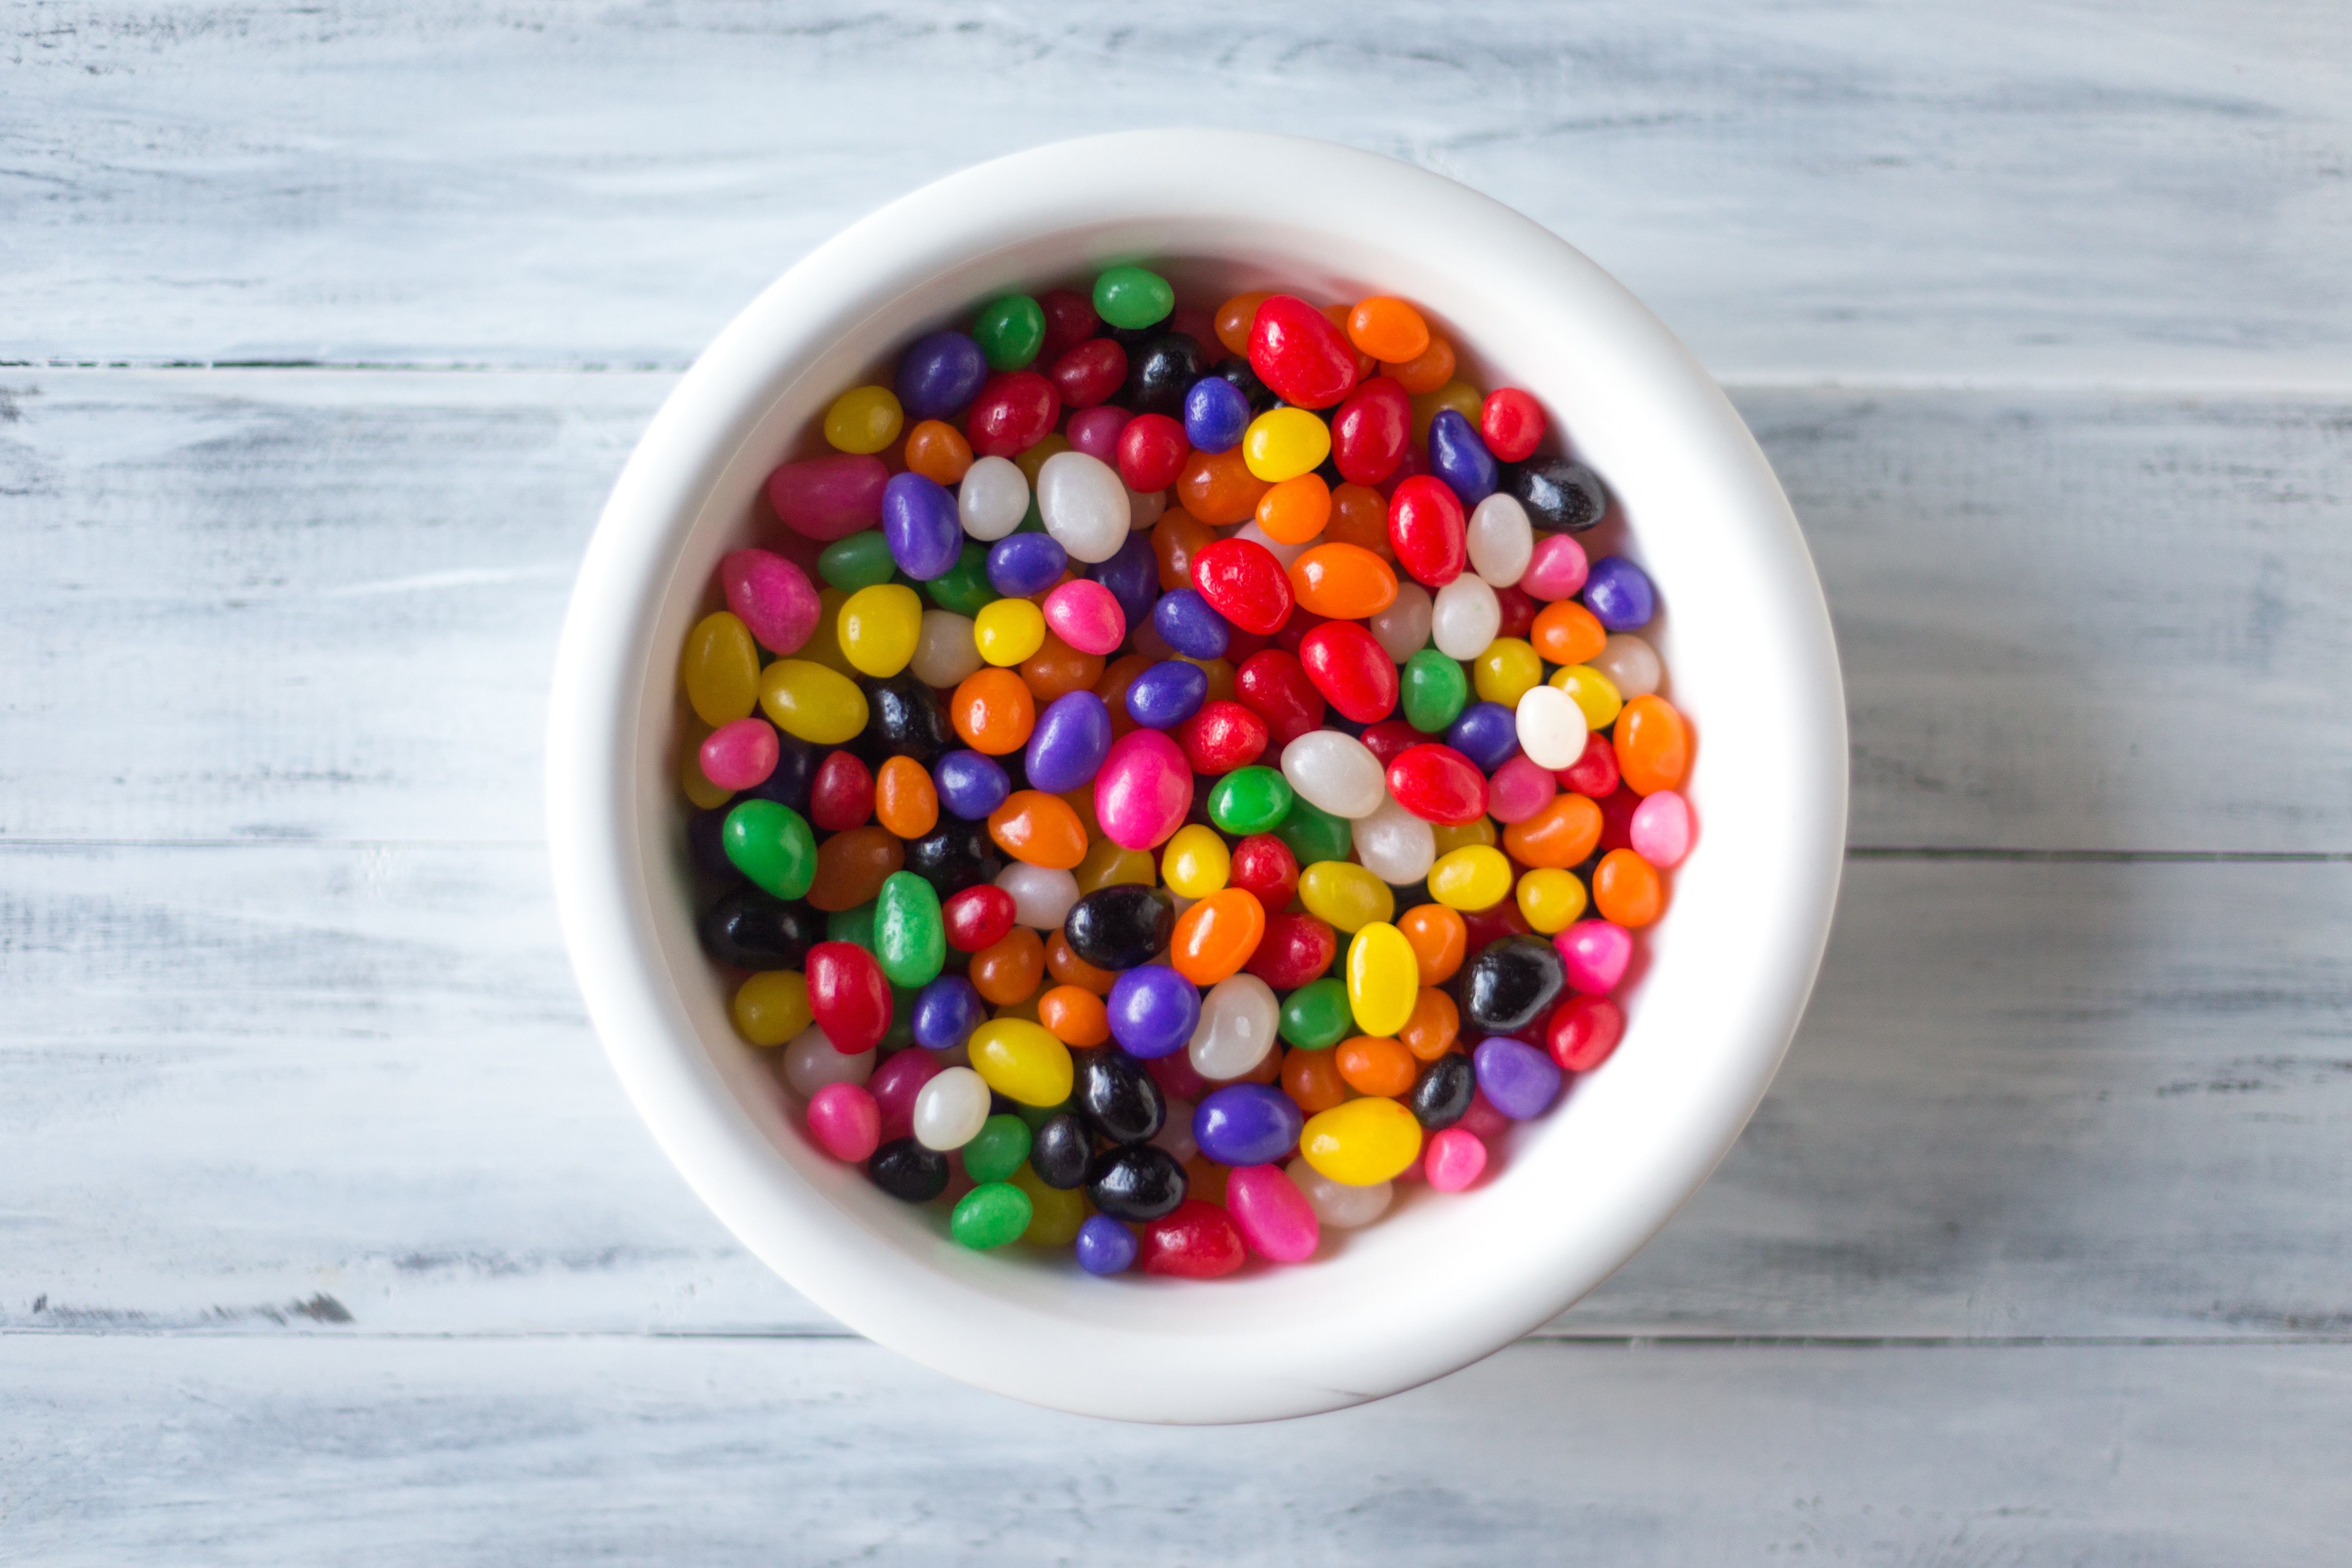
- Fill a jar with jelly beans or peanuts.
- On small slips of paper, have the children guess how many are in the jar.
- Appropriate for any age.
- The winner shares the jelly beans with the group!
17. Toss Coins
Instructions
- Get a basket or hat and have a contest throwing pennies into it. Who can get the most?
- Or put down three rings or hula hoop and mark each hoop with a different amount of points.
- Toss coins and add up the points!
President’s Day Crafts
18. Lincoln’s Bracelet
Instructions
- Provide children with 3-6 pennies.
- Cut clear contact paper in half, enclosing the pennies.
- Adjust bracelet to slip on child’s wrist.
19. Lincoln’s Hat
Materials:
- Pudding snack cup
- Black acrylic paint
- Black construction paper or felt
- Glue
Instructions
- Paint the pudding snack cup black.
- Cut a circle a size slightly bigger than the rim of your pudding cup from your black paper.
- Flip over the pudding cup and glue onto the black circle
- Cut a circle a size slightly bigger than the rim of your pudding cup from your black paper.
- Flip over the pudding cup and glue onto the black circle
20. President’s Day Paperweight
Materials:
- Cleaned and shiny pennies
- Elmer’s Glue
- Small tiles ( I used about 3”x 3” and you can also used jar lids)
- Felt pieces for bottom
For an After School program, I picked up discontinued tiles (see if you can get them donated. The store I got them from gave me about 100 for no charge!)
Instructions
- First clean and dry the pennies.
- Next glue pennies to the attractive side of the tile. Glue on the first layer and then in places glue two or three on top of each other. Glue will dry transparent. Pennies do not have to cover all edges as the tile underneath is nice looking.
- When pennies are dry, fit, cut, and glue felt to the bottom.
- The tiles used were unfinished on the side, so we used permanent marker along the edge.
- You can protect pennies with a coat of clear polish!
21. Lincoln’s Cabins
Instructions
- Clean and dry milk cartons from school lunchroom
- Staple top back together to form a peak for your cabin.
- Next cover all four sides with light brown construction paper using white school glue.
- Cut out two triangles to cover areas inset in the roof.
- Cut out a door and draw a square on another side.
- Glue small stick pretzels on all four sides.
- Glue a shiny penny with Lincoln facing out in the window square.
- Leave cut outdoor open. Don’t cut the door completely out.
- Measure to cut out a rectangle for the roof. You may glue it or staple the roof on and even add a chimney if you like.
Or Make a Pretzel Log Cabin
Materials:
- Small empty milk carton
- Pretzel sticks
- Chocolate frosting or peanut butter
- 1 Rolo or other tubular shaped candy
- 1 square cracker
- Scissors and Hot glue or tape
Instructions
- Cut the top flap of the milk carton off and tape or hot glue it closed to form the roof.
- Spread chocolate frosting or peanut butter on one side of the milk carton then cover with pretzels. Repeat this step all over the milk carton until the log cabin is complete.
- You may need to break the tips off of some of the pretzels to make then fit up the sides.
- Break a square cracker in half, then break one of the halves in half.
- Spread some frosting or peanut butter on the back of the first half. “Glue” it to the front of the cabin as the door.
- Repeat this step with a smaller broken piece for the window.
- Spread some frosting or peanut butter to the bottom of the Rolo and stick to the roof.
22. Coin Rubbings
A simple and fun President’s Day activity is to do rubbings of the face sides of coins by placing paper over the coin and rubbing it with a crayon. Read on here for additional instructions.
23. Check out snack ideas using cherries!
President’s Day Songs
24. Our Presidents
by Winifred Sackville Stoner, Jr.
A mnemonic jingle to help remember the order of Presidents from George Washington to Woodrow Wilson.
George Washington, Adams and Jefferson three
First rulers of Uncle Sam’s land of the free:
Then Madison, Monroe, and Adams again
All clever and upright and good honest men;
The Jackson, Van Buren and Harrison first,
Tyler and Polk whose terms were so curst
By war with the Mexicans who lost in the fray –
Then Taylor and Fillmore and Pierce held their sway.
Buchanan and Lincoln, Johnson and Grant,
Then Hayes, martyred Garfield, despiser of cant,
Arthur and Cleveland, Harrison (Ben)
McKinley the martyr, beloved by all men;
Then most energetic and strenuous Teddy
And plump William Taft for a second term ready
When Wilson was placed in this nation’s great chair
And promised to always rule wisely and fair.
25. George Washington (Dramatized finger/body play for Pre-K and K)
A very old legend tells me (Have children point to themself)
George Washington cut down a cherry tree. (Do a chopping motion)
Because he would not tell a lie, (Shake head sideways)
When asked who did this terrible deed. (Say this in a deep voice with hands-on hips)
He said, “Dear Father, it was I.” (Point to self)
Although this story is only a legend… (Move head sideways)
It reminds me that George Washington
Was a brave & honest man!
26. My Hat Has Three Corners (For Pre-K/K)
My hat it has 3 corners. (Form a triangle above head)
Three corners has my hat.
If it did not have 3 corners, (Raise 3 fingers)
It would not be my hat. (Shake head sideways)
List of Presidents of the United States of America
Can you or your children name all the presidents from 1-45?
01: Washington, George (1789-1797)
02: Adams, John (1797-1801)
03: Jefferson, Thomas (1801-1809)
04: Madison, James (1809-1817)
05: Monroe, James (1817-1825)
06: Adams, John Quincy (1825-1829)
07: Jackson, Andrew (1829-1837)
08: Van Buren, Martin (1837-1841)
09: Harrison, William Henry (1841)
10: Tyler, John (1841-1845)
11: Polk, James Knox (1845-1849)
12: Taylor, Zachary (1849-1850)
13: Fillmore, Millard (1850-1853)
14: Pierce, Franklin (1853-1857)
15: Buchanan, James (1857-1861)
16: Lincoln, Abraham (1861-1865)
17: Johnson, Andrew (1865-1869)
18: Grant, Ulysses S. (1869-1877)
19: Hayes, Rutherford Birchard (1877-1881)
20: Garfield, James Abram (1881)
21: Arthur, Chester Alan (1881-1885)
22: Cleveland, Grover (1885-1889)
23: Harrison, Benjamin (1889-1893)
24: Cleveland, Grover (1893-1897)
25: McKinley, William (1897-1901)
26: Roosevelt, Theodore (1901-1909)
27: Taft, William Howard (1909-1913)
28: Wilson, Woodrow (1913-1921)
29: Harding, Warren Gamaliel (1921-1923)
30: Coolidge, Calvin (1923-1929)
31: Hoover, Herbert Clark (1929-1933)
32: Roosevelt, Franklin Delano (1933-1945)
33: Truman, Harry (1945-1953)
34: Eisenhower, Dwight David (1953-1961)
35: Kennedy, John Fitzgerald (1961-1963)
36: Johnson, Lyndon Baines (1963-1969)
37: Nixon, Richard Milhous (1969-1974)
38: Ford, Gerald Rudolph (1974-1977)
39: Carter, James Earl Jr. (1977-1981
40: Reagan, Ronald Wilson (1981-1989)
41: Bush, George Herbert Walker (1989-1993)
42: Clinton, William Jefferson (1993-2001)
43: Bush, George Walker (2001-2009)
44: Obama, Barack Hussein (2009-2016)
45: Donald Trump (2017 – 2020)
46: Joe Biden ( 2020