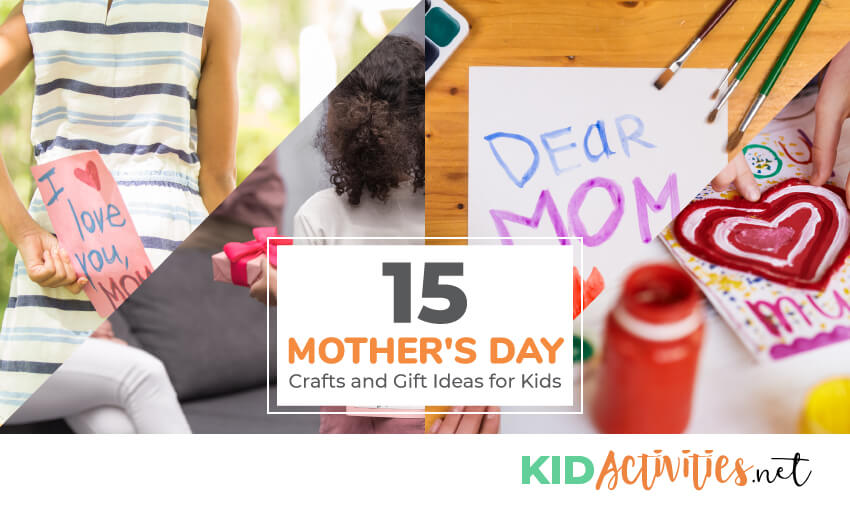
These Mother’s Day crafts and gift ideas for kids are great classroom activities. Help kids express their love for their moms through these great craft ideas.
Mother’s Day Crafts for Kids
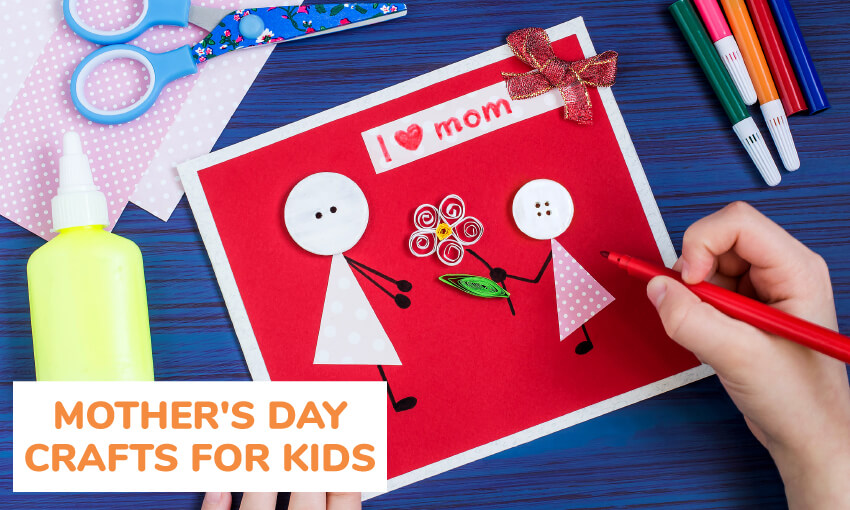
1. Mother’s Day Coupons from Kids
A gift certificate is a simple piece of paper that lets the person who owns it – trade it in for the gift.
1. Kids (and adults) can easily make their own gift certificates with scissors, paper, colored pencils, crayons, and/or markers, glitter (optional)
2. Have kids think of several things they can do well, things that mom or Grandma would appreciate.
- Maybe Mom/Grandma would appreciate having the dishes washed?
- How about caring for younger siblings. Give Mom the day off! Tell her to read, rest, take a bubble bath or even garden if that is what she likes to do.
- Coupons for working in the garden are always appreciated! Pull the weeds or plant flowers and veggies.
- Maybe you could fix something inside or outside that needs repair?
- How about painting or cleaning the windows? Washing her car? Sweeping the sidewalk? Vacuum, dust, shampoo the carpets, wash the floor? Lots of ideas for coupons!

If you’re an adult-you may not think that mom (grandma or great grandma) would appreciate homemade gift certificates. Not so!!! In my neighborhood, there are many elderly who would love their family to clean their garage, wash windows, spruce up landscaping, or fix some things around the house!
2. Coupons from children who cannot write
Supplies: Paper, markers, scissors, old magazines.
Directions: Ask children to think of something they can do to help mom around the house. They can cut pictures from the magazine and paste them on paper strips to make coupons. Example: I will dry the dishes” can have a cup, saucer or dish detergent on the coupon. Package up in an envelope as a gift!
3. A box of love
To make this gift you need:
- Small plain boxes such as jewelry boxes
- Pretty wrapping paper to fit the occasion
- Glitter, sequins, decorations of choice-Ribbon
- This poem printed on nice paper.
” This is a very special gift
that you can never see.
The reason it’s so special is
it’s just to you from me.
Whenever you are happy,
or even feeling blue.
You only have to hold this box
and know I think of you.
You never can unwrap it…
Please leave the ribbon tied.
Just hold the box so close to you…
It’s filled with love inside.
With Love, “
4. Non-sew sachets
Materials:
Fabric scraps
Fabric glue and Potpourri
- For each sachet, place 2 matching 5-inch fabric squares back-to-back and glue the edges together on 3 sides. Spread the glue close to the edges to prevent fraying.
- Once the glue is dry, fill the sachet with about 1/2 cup of potpourri.
- Glue together the open edges and again let the glue dry.
- Arrange the finished sachets in multicolored stacks and tie them together with a festive ribbon or yarn.
5. Baby food jar freshener
Materials:
Potpourri
Clean Baby Food Jar (no top needed)
5″ Paper Doily
Rubber Band
Lace
Ribbon Rose
Low Temp Glue Gun
Instructions:
- Fill jar with potpourri.
- Cover with a paper doily or tulle.
- Secure with rubber band.
- Tie a ribbon around the jar to hide the rubber band.
- Optional: Hot glue ribbon rose to area.
6. Ceramic hot pad
Paint children’s’ hands and place them on a 6×6 ceramic wall tile (You can usually get them donated through a home repair store). Write the child’s name at the bottom. After 24 hours, put a sealer on the tile.
7. Stationary gift
Decorate several sheets of paper and envelopes to give as stationery. Use glue and glitter, crayons, markers or paint for borders; or cut out pieces of sponge, dip them into paint and make stamps on the paper.
8. Homemade Bookmark for Mom
Bookmarks #1
Cut the front of appropriate greeting cards into 2 inch wide strips. Punch a hole at the top of each strip and attach a yarn tassel. Children can decorate the backs of the strips with markers and crayons if desired.
9. Bookmarks Version 2
Make fun bookmarks with construction paper, markers, paints, and stickers. You can also use glitter, sequins, lace, doilies, buttons, and any other odds and ends you have left over form other projects.
- Cut strips from construction paper-painting the construction paper will make it sturdier. You can also visit the local library or office supply to have them laminated for longer lasting use.
- To complete the bookmark, attach a tassel make from strands of yarn.
Also visit KidActivities ‘bookmakrs making’ category.
10. What I Love About You Letter
On pretty stationary. Have children write an essay about why they love Mom or Grandmother, or write it on white paper and then roll it up and tie with a ribbon.
- Also, create a book from that essay with hand-colored or painted pictures to illustrate different sentences.
- Punch three holes in the side of each page and tie the book together with yarn or ribbon.

11. A spoonful of kisses
Place a candy kiss (or a many as will fit on your spoon),
wrap it in some transparent cellophane paper or tulle and tie with a ribbon.
Attach the following poem.
“A spoonful of love And a lots of kisses.
Please enjoy your Mother’s Day wishes!”
Note:
This would also make a cute wedding shower favor by changing a few of the words.
A spoonful of love and lots of wishes.
Please enjoy these wedding kisses.
12. Make a “memories box”

Decorate a shoe box and give it to Mom as a “Memories Box”. Put in notes, pictures, and other things that will make Mom think of her family. How about a item from being a baby, awards won, drawings, a good report card, poems, favorite photographs, an article of baby clothing, or vacation mementos?
13. Make a personalised t-shirt for mom
Idea: Paint the bottom of the children’s feet using fabric paint and have them step on the shirt to make footprints. Once the footprints are dry, use black fabric paint and write, “My kids walk all over me”.
When painting a shirt for someone. Keep the recipient’s hobbies and interests in mind. For example, if she is an avid gardener, why not make a related shirt? You can make or buy flower-shaped stamps or sponges, dip them in fabric paint, and press a print on the shirt.
If you’re doing this with a group this could be costly. Ask children that want to make a shirt to bring one in. If “new” it needs to first be washed.
About painting on fabrics.
- Painting on fabric is done with a special acrylic paint that sets in the heat (Fabric paint) by ironing or in an oven at 302F.
- You can also make your own fabric paint by mixing acrylic paint with a mixer.
- Apply the paint with a brush or stencil brush. The fabric should be pre-washed to remove sizing/Starch so that the paint doesn’t ‘slip’.
- Avoid slightly fluffy fabrics when using a paintbrush, it makes the task harder.
- When the shirt is painted and dry be sure to iron it to set the paint before it is worn. If the paint is not “set” it may come off when washed.
To paint a t-shirt – After washing and drying the garment, you should iron it and lay it out flat. Slip a thin piece of card board inside to stop the paint from staining the back of the t-shirt. It could be impossible to get rid of paint stains on clothes; work carefully and cover up the surfaces not meant to be painted to protect them as you’re working.
14. Pasta Frames
1. Cut out cardboard frames for children – or purchase pre-made card-board frames from a craft supply company or store.
2. Glue colored pasta shapes around the frames. (click here for directions on how to color pasta-located near page bottom)
Take pictures of the children and attach it to the back then give as a gift!
15. Classroom activity for mom
- Have a “muffins for mom” morning!
For a Mother’s Day celebration, Mom (or a favorite person) spends some morning time at the program. Children can give presents and cards they have made. Also offer muffins, fruit, etc. - mother’s day tea
The same as above except in the afternoon with tea and cookies! - This would also be a great time to hold your annual springtime ‘Connecting with Parents’ Event.
Mother’s Day dates of the years
In the United States, Mother’s Day is celebrated on the second Sunday of May. In some countries it is on dates that are significant to the majority religion or to historical dates:
| Mother’s Day 2019 | May 12 |
| In 2020 | May 10 |
| In 2021 | May 9 |
| In 2022 | May 8 |
| In 2023 | May 14 |
| In 2024 | May 12 |
| In 2025 | May 11 |
| In 2026 | May 10 |
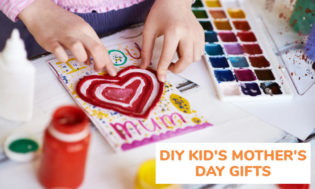
Big kids, little kids and adult kids pamper mom, grandma, step-mom, and the mother of your kids – with personalized handmade gifts, coupons or a day off from the kitchen! Kids can write mother’s day poems and messages. (Classroom and program ideas below)
- How about chocolate, jewelry, clothes, handmade items, gift cards, manicure, pedicure, a day at a spa, decadent French pastries, movie tickets or tickets to a play? Favorites for Mother’s Day gifts are also fresh flowers, bouquets, and plants for the garden.
- Hmmm, handmade photo frames, collages, and family albums or scrapbooks are also a nice way to express love and gratitude!
- Make breakfast! Mom will be surprised when she sees the time that was put in to making the meal. Stay and enjoy it with her. Moms love spending time with their kids. (Oh, don’t forget to clean up the mess!)
- There are also lots of ways you can treat Mom without spending much money. When you come right down to it, happy and healthy kids on Mother’s Day is what is important. A nice homemade card or picture with an “I love you Mom” is what makes most Moms happy. Do get busy though! Efforts are always appreciated.

For more suggestions visit categories:
